Friday 31 May 2013

[Dress up] - TGIF the casual wear working day

Casual wear working day
The casual career wear day.
I am glad that our company has a casual Friday.
We could wear jeans and polo-T, but I love something else,
especially the casual oversize blouse that gives casual yet relax look.

Happy Friday!!
Happy Friday!!

Oversize blouse goes perfect with almost everything,
for instance: color skinny jeans or legging….
But back to reality, the weather was so hot & humid,
it doesn't allow me to wear the skinny tight pants.
(I just hate the sweaty sticky feel).
Thus I paired it with a lady bird skirt and rushed to work.
If you could tell, I should wear a necklace to style it out!  
Oh, and Happy Friday!  xoxo

Laneige 1 + 5 minutes give you a rosy glow complexion


Foreword:
If you have knew me long enough, you would know I am not a photogenic beauty.

I believe most of the girls out there, have their own secret in making themselves stand out of the crowd. I definitely have my way in turning myself naturally rosy glow everyday within 10 minutes time. To be more accurate a 5 minutes will be enough for a casual working day basic make up, and a 10 minutes for a photo shooting day make up. However this is not a secret, as it is so simple that anyone could materialized it at home with simple make up products.


Before we start, let's find out what's the flaws you really wanted to cover up.

I major skin problems are my ruddy complexion and huge dark circle. Especially after a bad night sleep,my skin turn dull and yellowish; my dark circle would make me looks tired and swollen; and all make up that I wear would easily fade or run due to dehydrated tired skin.

But I am so addicted to traveling, and you know we seldom looks as good as those artist in the trip, what to say a budget trip?! The tiredness due to traveling would never ever allow me a good night sleep, and can you imagine how would I looks after 7-8 consecutive days of bad sleep ?!!

(murmur: no girls can accept themselve looking awfully on the photo, esp. those on facebook)


So here come my secret weapon!

 Laneige Sleeping Pack_EX , The 1 minute weapon


I have been using Laneige sleeping pack_EX for more than 3 years, used up more than 3 pots.

3 years ago, I was with a company that required me to travel frequently, to be honest I enjoy the travel part a lot. But I did not aware that fatigue due to frequent travel would depress my immunity and cause dry (eventually developed rashes /eczema). So my colleague introduced me the extremely moisturizing mask – Laneige Sleeping Pack_EX.
It was so lazy to use, well I mean so simple to use, all you need is just a one minute.

Scenario 1 – Any normal day
Normal day, I apply around 2 x 20cent amount of the mask on your face, take a deep breath  and go to bed. The next day, you just need to rinse it off with water and you will find your pore shrunken and a glow complexion.


Scenario 2 – Traveling day
If I was traveling outside, I need more and more moisture to rehydrate my skin, I would apply all my basic facial products (toner, serum and moisturizer) then add on a thick layer of Laneige Sleeping Pack_EX on top of it.
That’s how I pamper my skin after a whole day long of travel and being mask under a layer of make up. So I don’t looks as if I were a backpacker although I were on a budget trip, where I walk a lot and sleep in budget hostel.

But this wasn’t enough I want more MORE!!


The 5 minutes Casual Basic Makeup

Makeup products:
Laneige Water Supreme Primer Base with a SPF 15
Q10 concealer
Cezanne compact powder
Kate crayon and liquid eyeliner
Laneige Professional Selection- water peach tone blusher
YSL Touch Eclat Radiant Touch (Extra)

Yes, this is not enough if you wanted to be perfect in the photo or to give a good impression, so I would spend another 5 minutes on the next day morning for a casual basic make up.

No matter it is a normal working day or a traveling day, wakeup early in the morning never sound sweet. So the simpler the makeup step, the shorter the time it takes. So my casual basic make up involved only 5 simple steps, which is suitable for a beginner.


After face wash and applied all the skincare products, I would start with the Laneige Water Supreme Primer Base with a SPF 15. I love this Laneige Water Supreme Primer Base so much not only for its high moisturizing and also for its even skin tones effect and giving a radiance and flawless finish.
Top left was me without makeup and bottom right was me after applied Laneige Water Supreme Primer Base.
My skin tone is prone to yellowish, so soft pink Laneige Water Supreme Primer Base will just nice to even up my yellowish skin tone. Sometimes when I was in rush, I would just apply Laneige Water Supreme Primer Base and eyeliner , then off to work with an energetic looks.


After applied Laneige Water Supreme Primer Base, I could now see my dark circle so obvious under my eyes. There I applied a very thin layer of concealer at the edge of my dark circle and used my ring finger to pat upward to slightly lighten up my dark circle (refer to picture 1).  
((note: don’t try to apply a thin layer of concealer on your dark circle, you will looks really funny after few hours))
I usually wear a thin layer of compact powder to make sure my makeup stay longer on my face and to set the concealer so to allow a naturally smooth complexion.

Eyeliner always the key of the makeup, it will bring out the MOST charming part of you. There my way of applying eyeliner is doubled it. A thicker line of crayon eyeliner would be applied above the eyelashes (picture 2), and second fine line of liquid eyeliner would fill the gap of the eyelashes (picture 3). The double layer of eyeliners could give you a more dramatic look without spending much time or effort on applying or layering eye shadow (another lazy step).  

Finally a thin smear of Laneige Professional Selection- water peach tone blusher would be applied at my cheekbone area to create a brighter and lively looks. Get a peach tone blusher if you’ve a yellowish skin tone like me, it will express your natural facial contour and adding a smell of sweetness to you.  I believe you will love it as I do!!

In addition, Laneige Professional Selection- water peach tone blusher come with a small blusher brush, which is very convenient to use and the size was just nice to slot it into your clutch which this could be really important during the trip.
((Basically, all I wanted for my makeup & skincare products are, simple, easy and convenient!Haha!!))

**For some special events I would just add on fake eyelashes, eyeshadow, YSL radiant touch and lipstick to get a more gorgeous effect. That would take around 20mins to get everything done, but with the casual basic makeup you are halfway to the professional makeup.


Now, you got my secret, let’s have a go tonight, turn on your music treat yourself a good moisturizing night with Laneige Sleeping pack_EX and show our beauty tomorrow morning with the simple 5 minutes!!


Enjoy~ XOXO

Thursday 30 May 2013

The summer in Nice, France.

Stunning blue sea, Nice, France
When I was scrolling through the pictures under the category of Travel in Pinterest,
I saw a picture of a pair of sweet couple swinging above the swimming pool.
Stunning blue sea, Nice, France
The vacation atmosphere was so great.  It reminds me the blue sea in Nice, France.
Strolling along the beach
Sunbathing on the beach, Nice, France
The blue sea in Nice was stunning.
During the 3 days stay, we did nothing much.
We would just spend a whole day holding each other hand,
strolling along the beach and allow warm sea-breeze rippling over our hair.
We both were feeling so great with the sea, the scene, the waves and the humid windy weather.
Luxury hotel in Nice, France
Life and happiness can be so simple.
We did not stay in luxury hotel nor had Michelin 3 stars France cuisine.
We stay in 3rd floor of a budget hostel; we climbed up and down with our big fat luggage on a narrow staircase.
We had only hotdog and bread for our breakfast and dinner.
But we had so much laughter and smile hanging on our face.
The BIG smile reflected on our face
It’s just simply the amazing scene that made us happy inside out.

Tuesday 28 May 2013

2012 Tokyo – Itinerary & transportation

_DSC4624

This was my very first time travel to Japan and I have been reading a lot of Japanese comic and novel since I was small. I imagined a lot while I was reading. I love every single that had illustrated in the comic and books, from the food mochi, red bean-macha ice, bendo to clothing & building like kimono, Cosplay, Tokyo tower and temple. How could I missed all these things, when I have the chances to pay a pilgrimage to Japan??


_DSC5424


Actually, I had planned more than this, but due to time constraint we only managed to visit to the place shown as below,


Itinerary
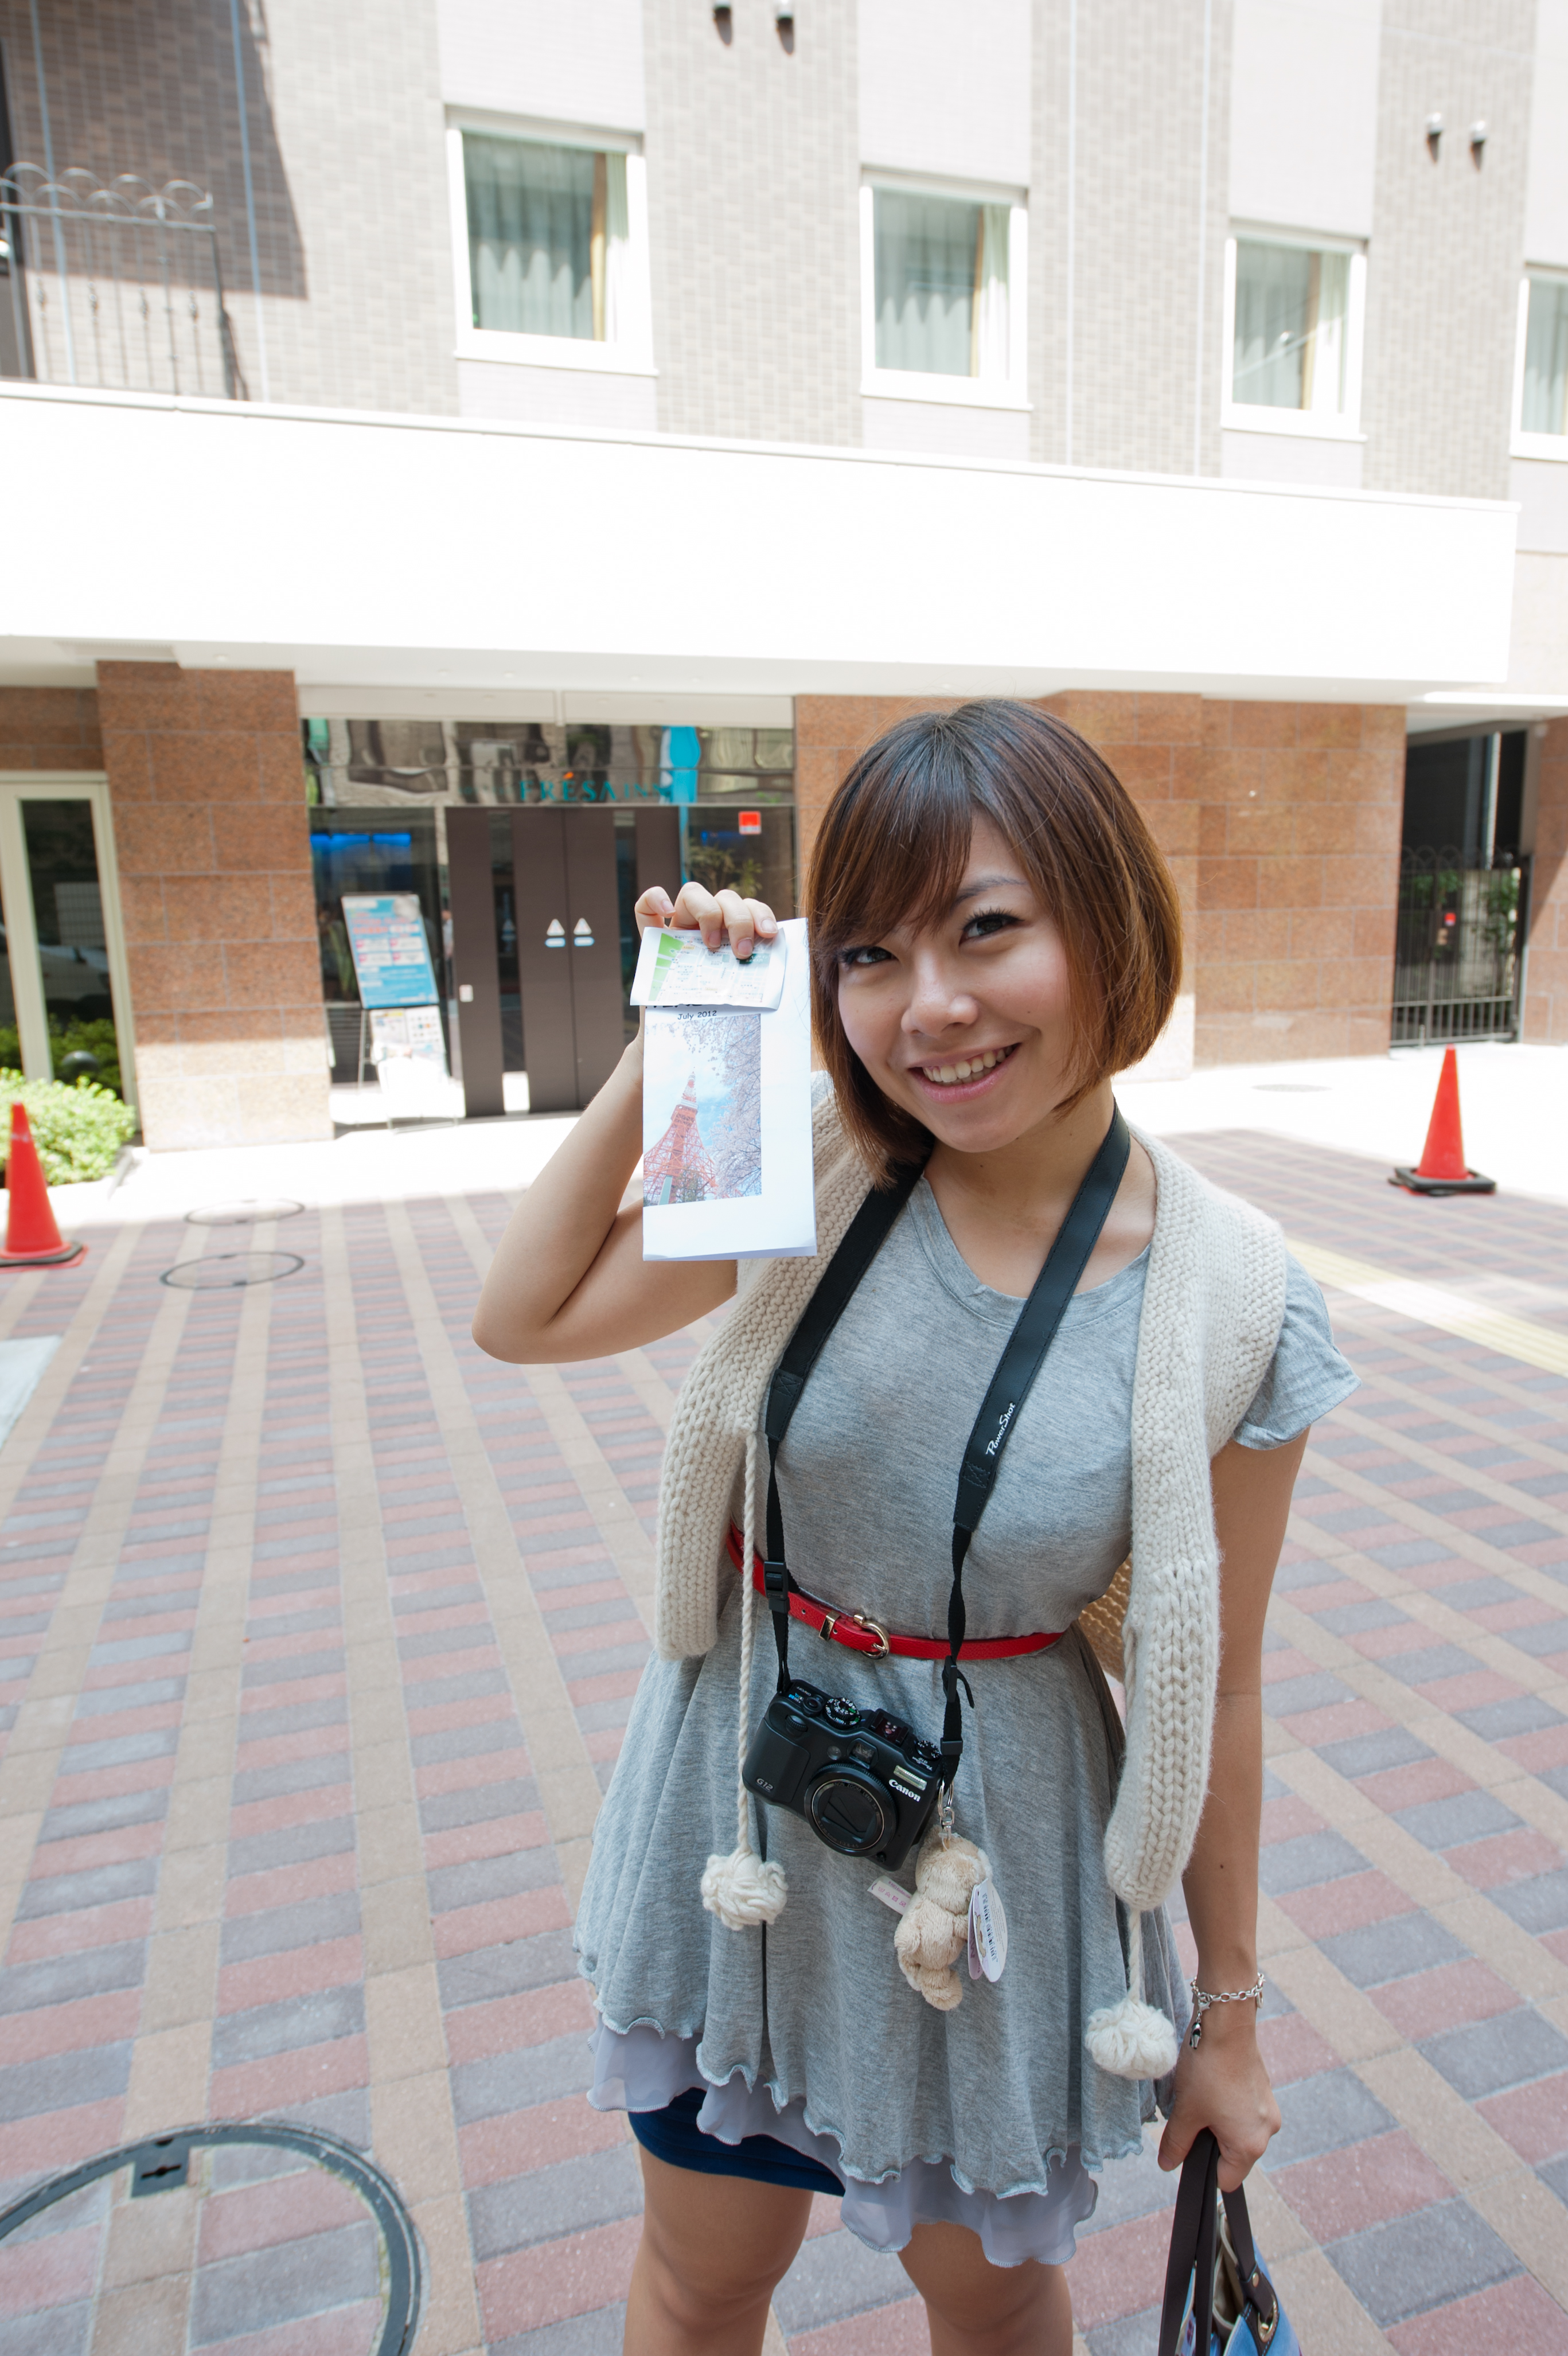
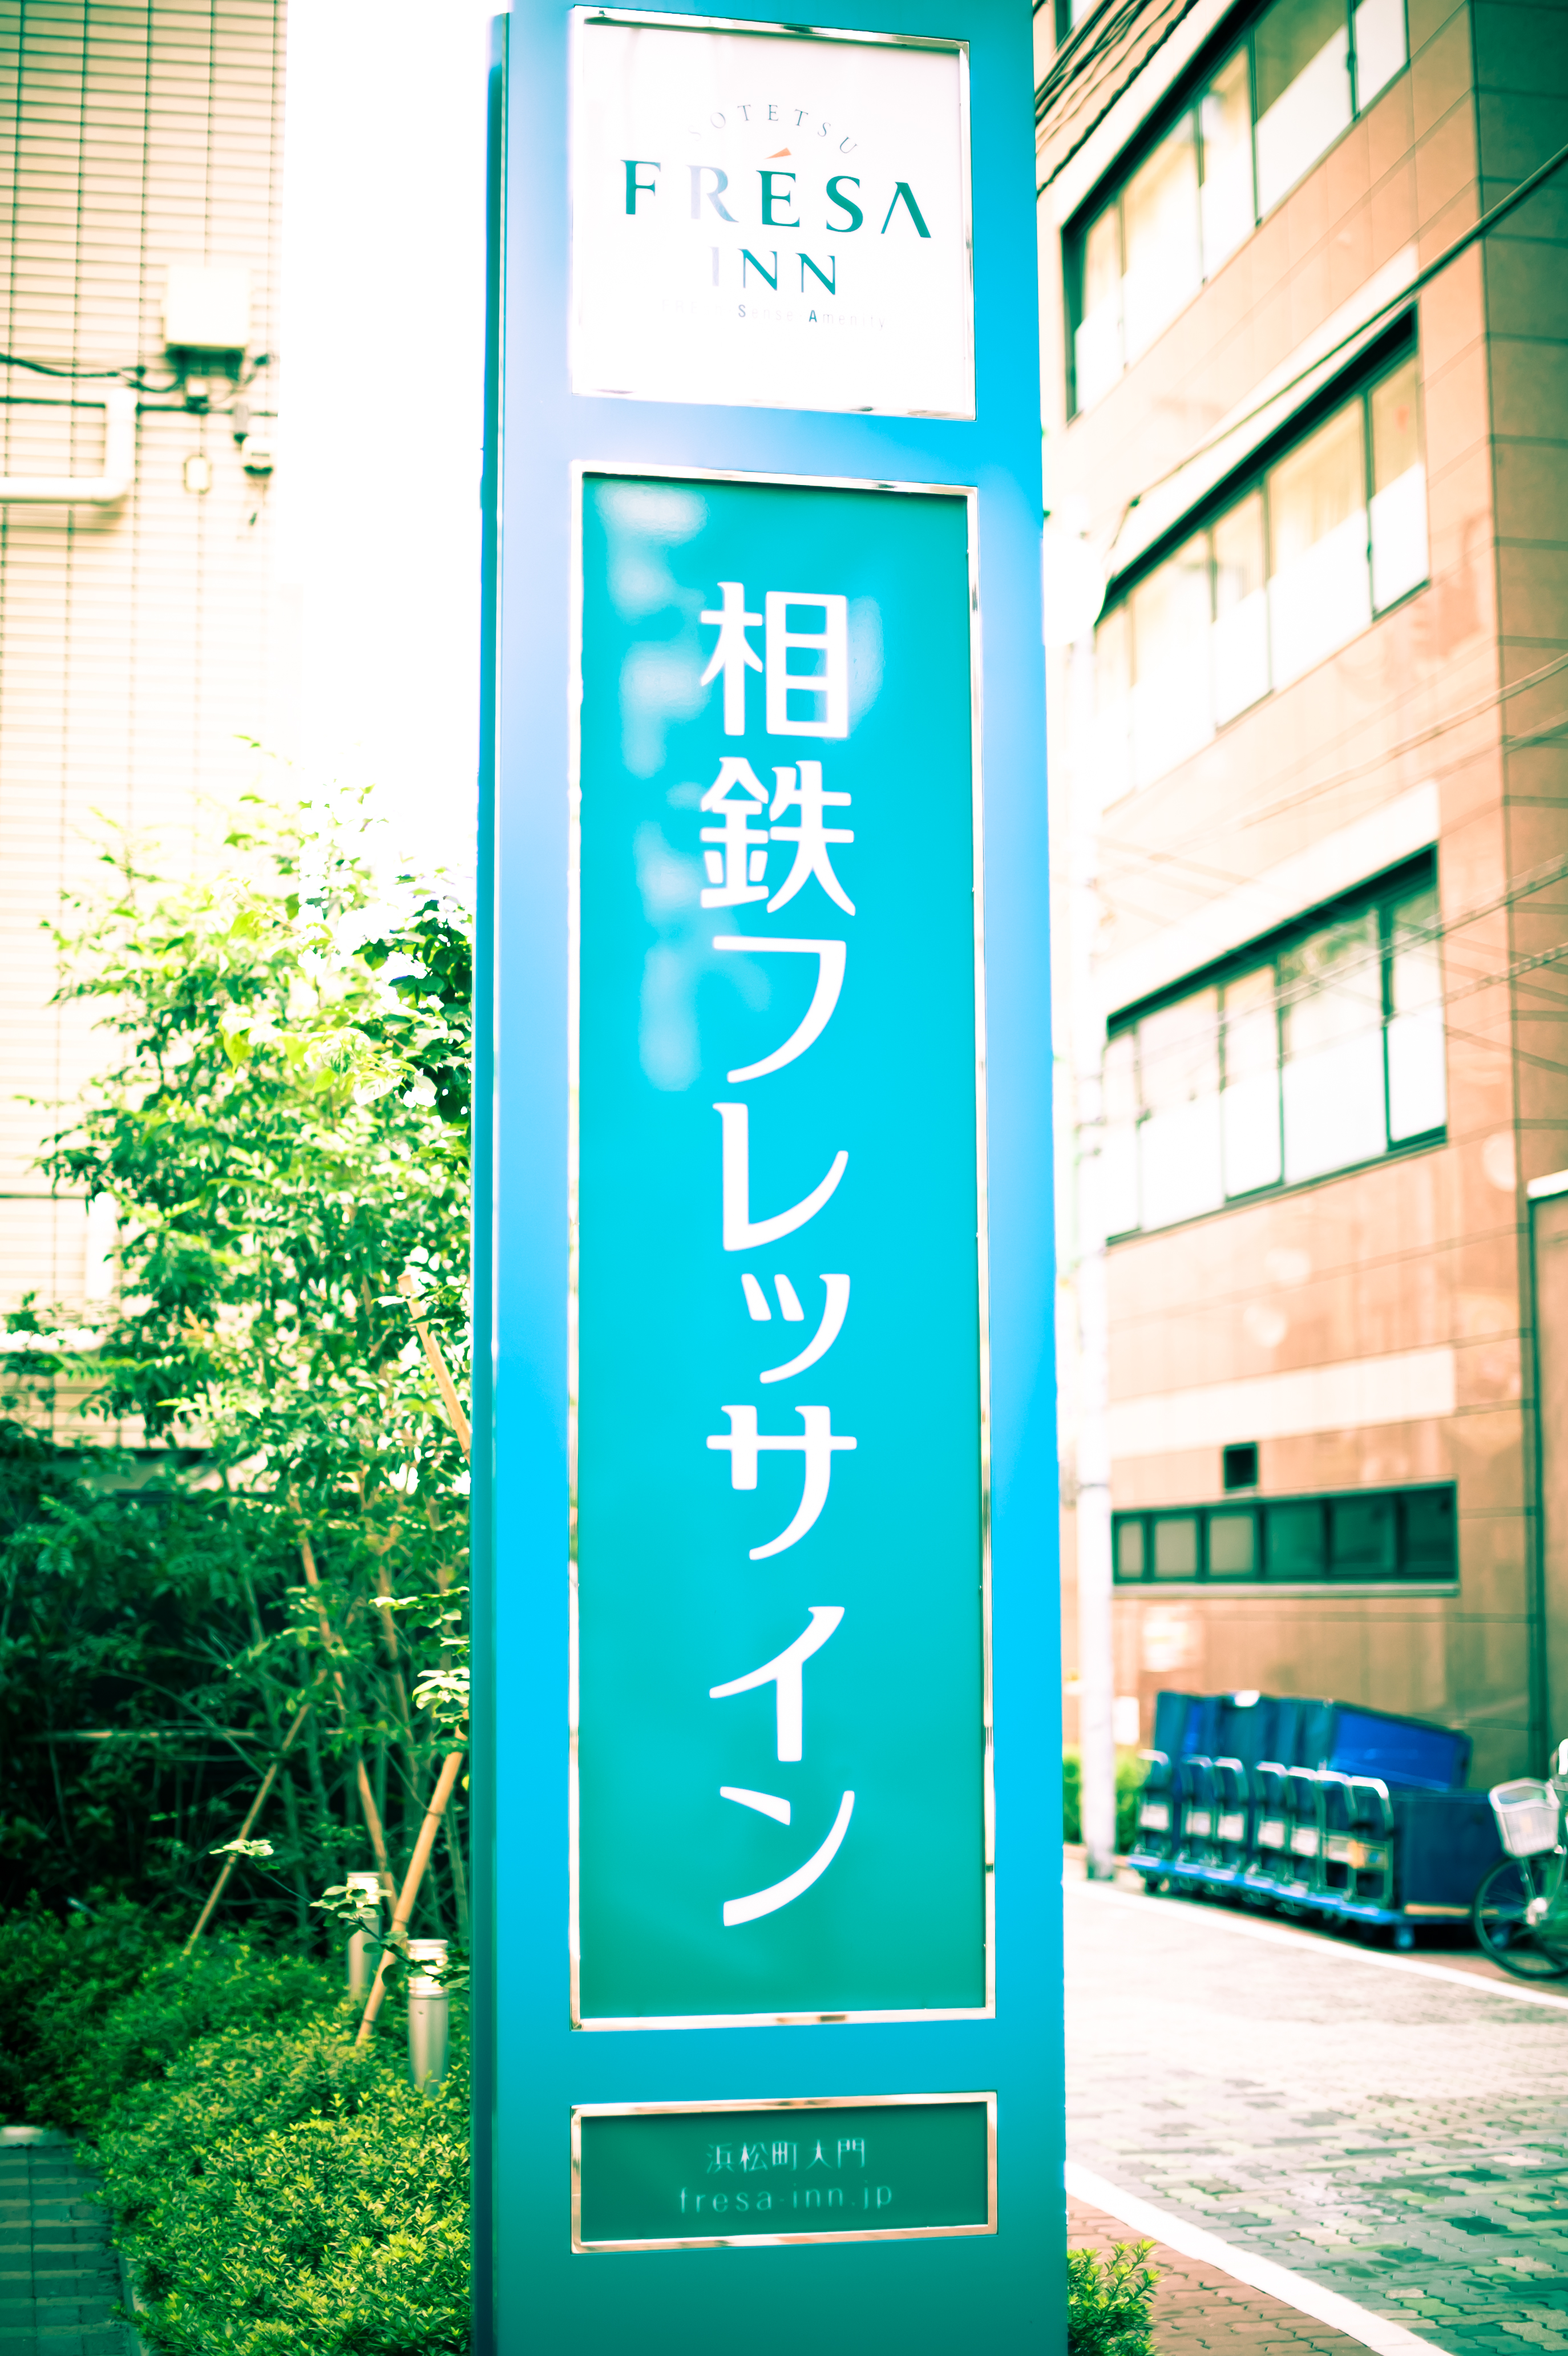
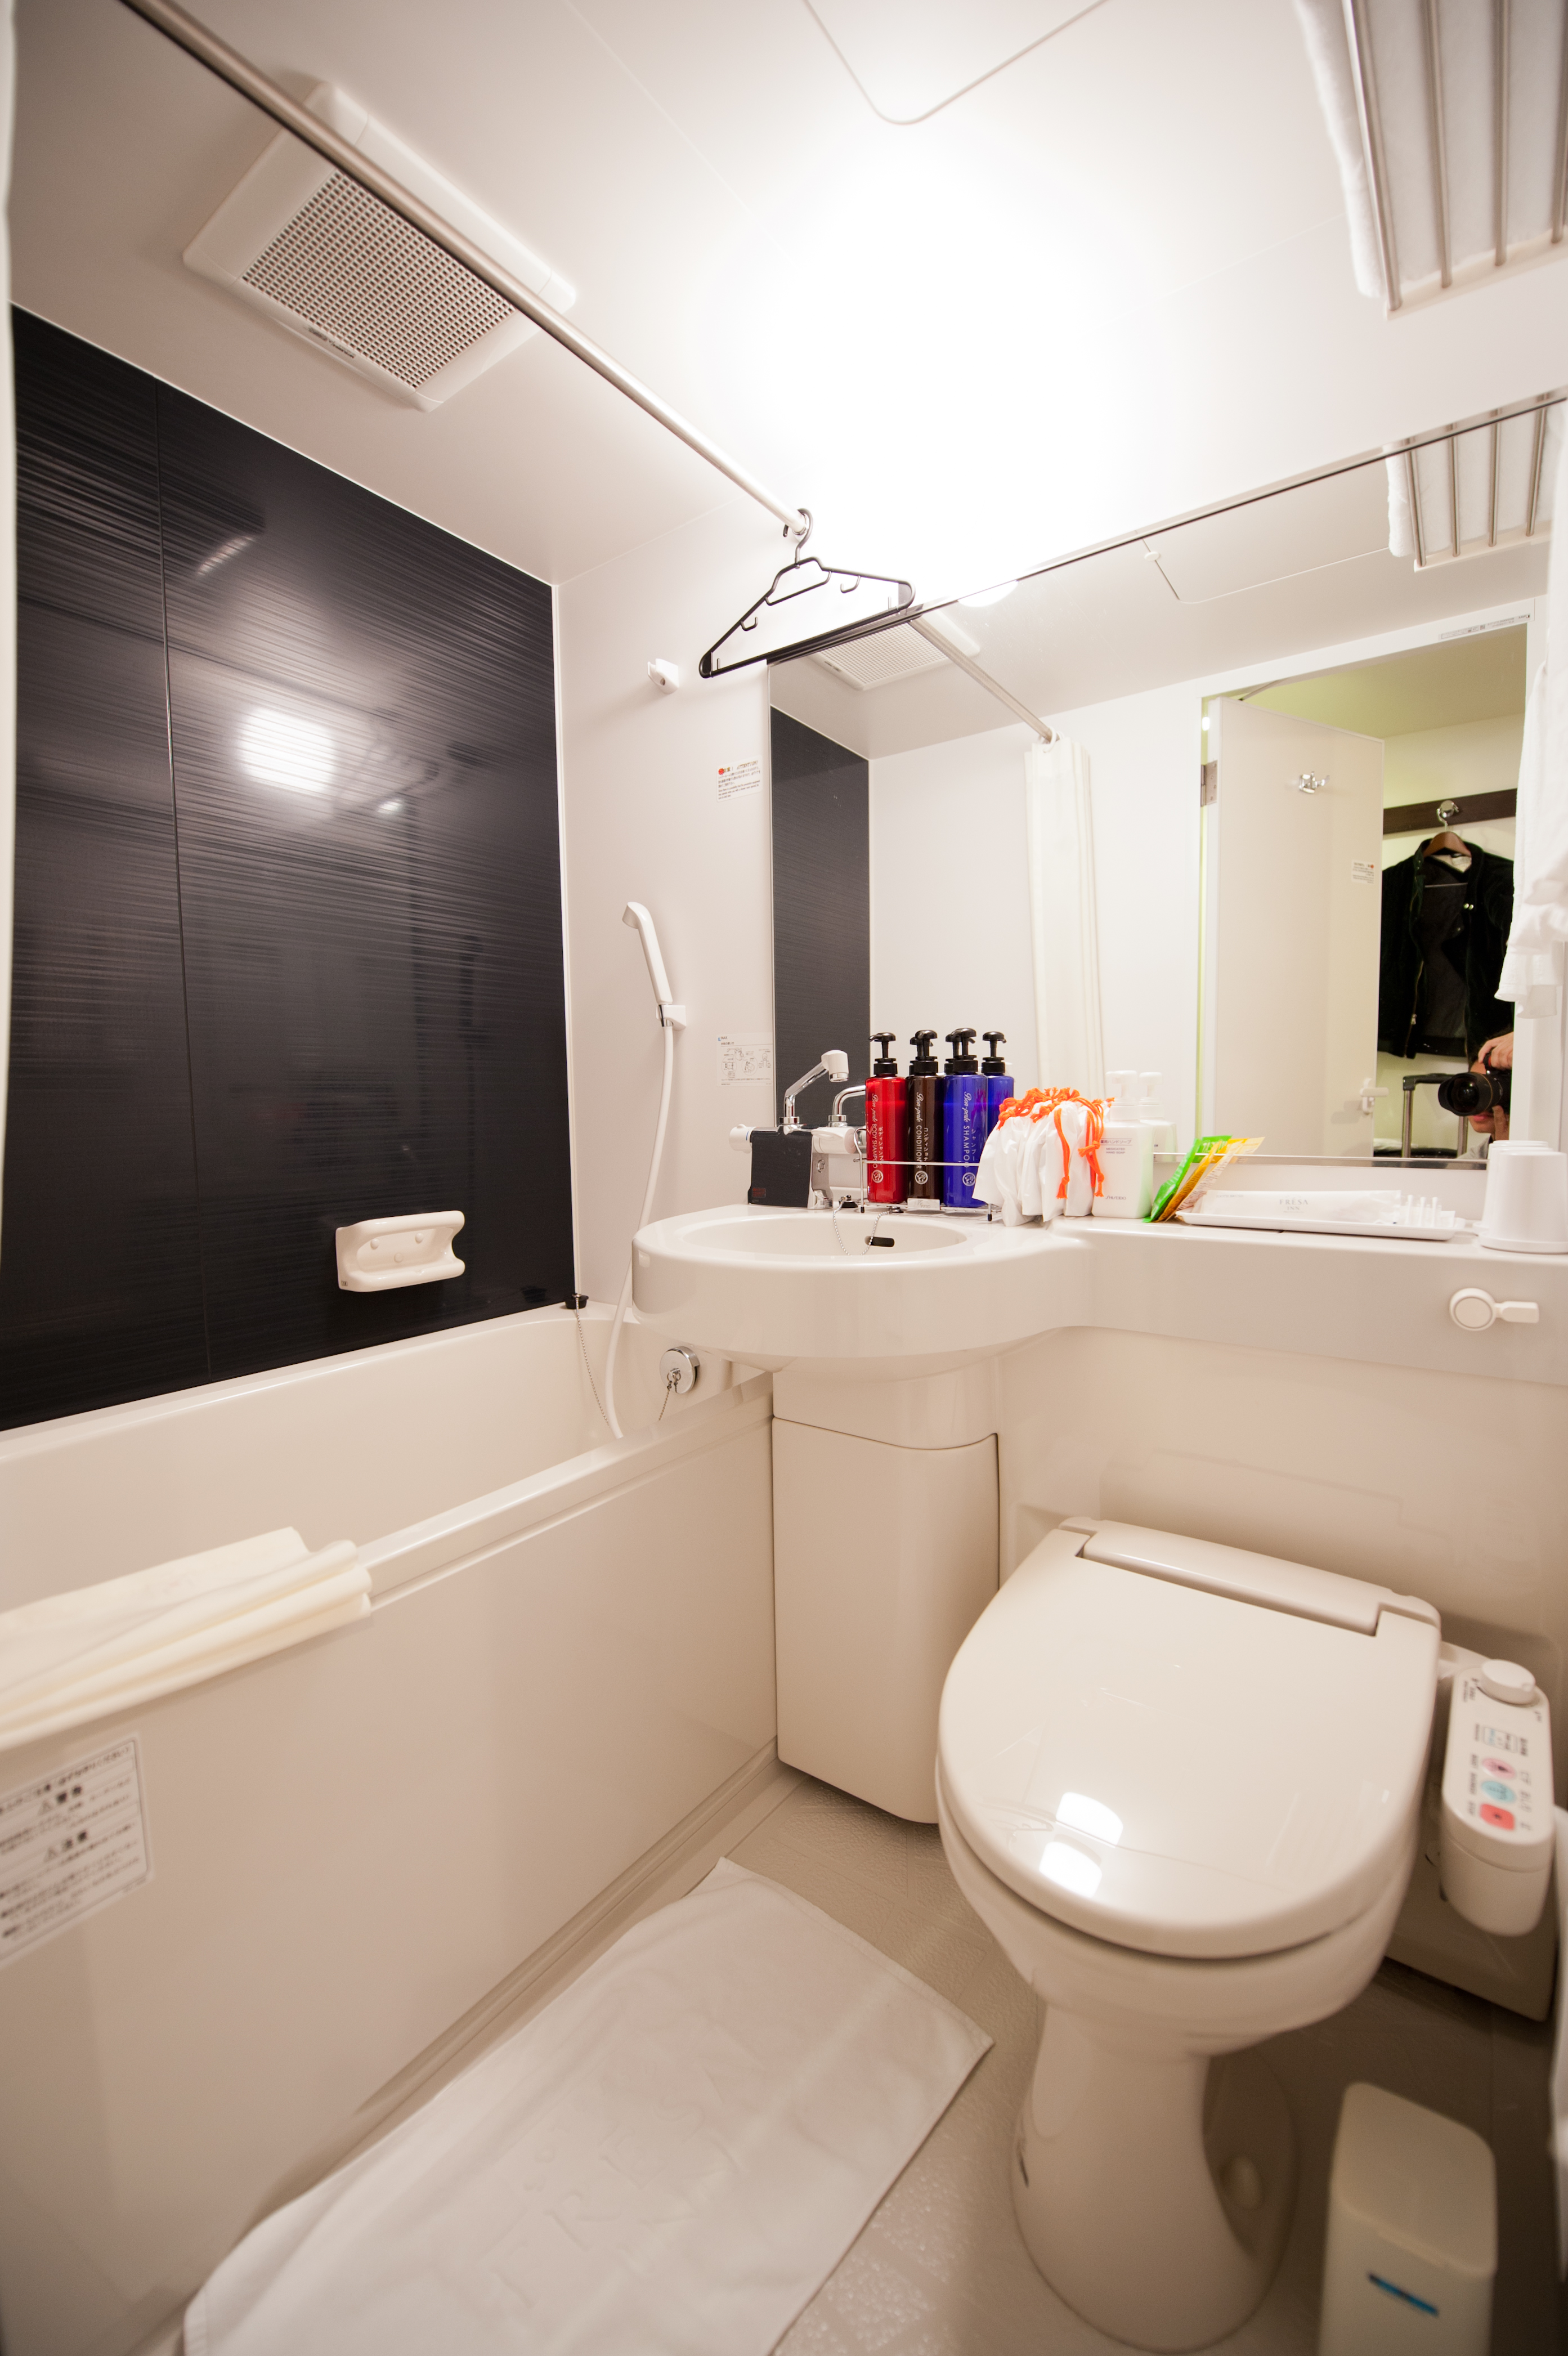
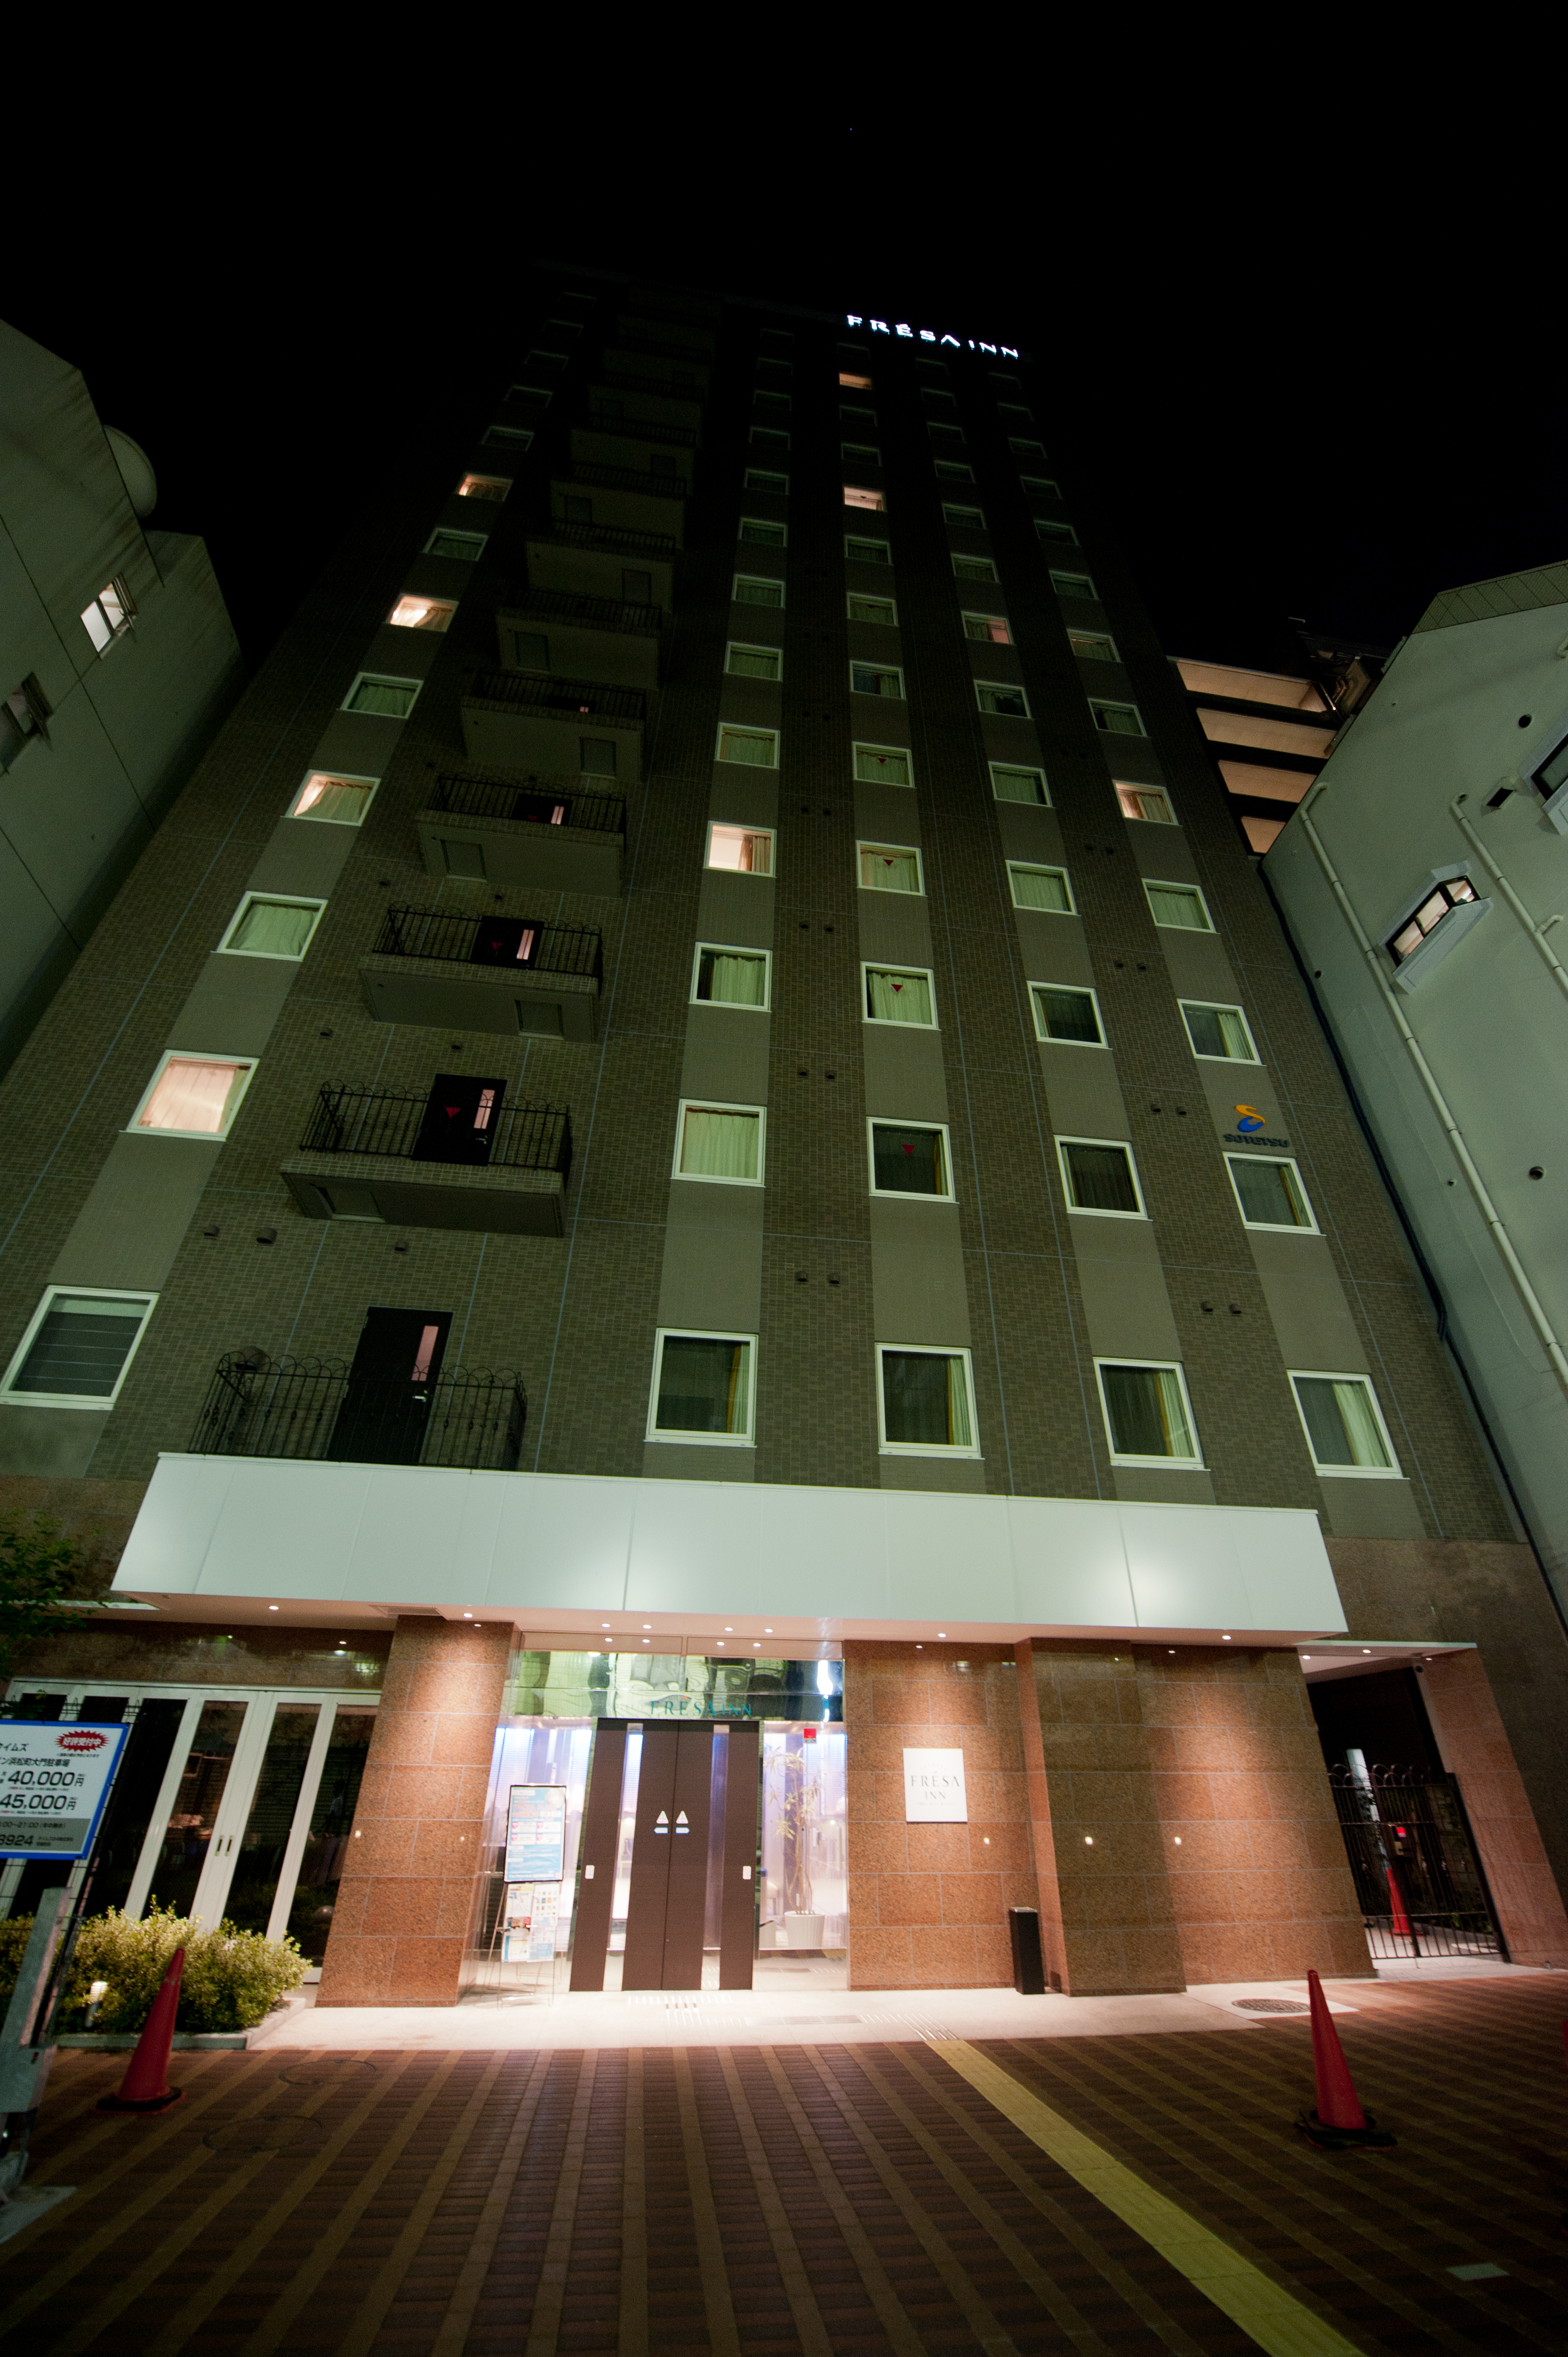
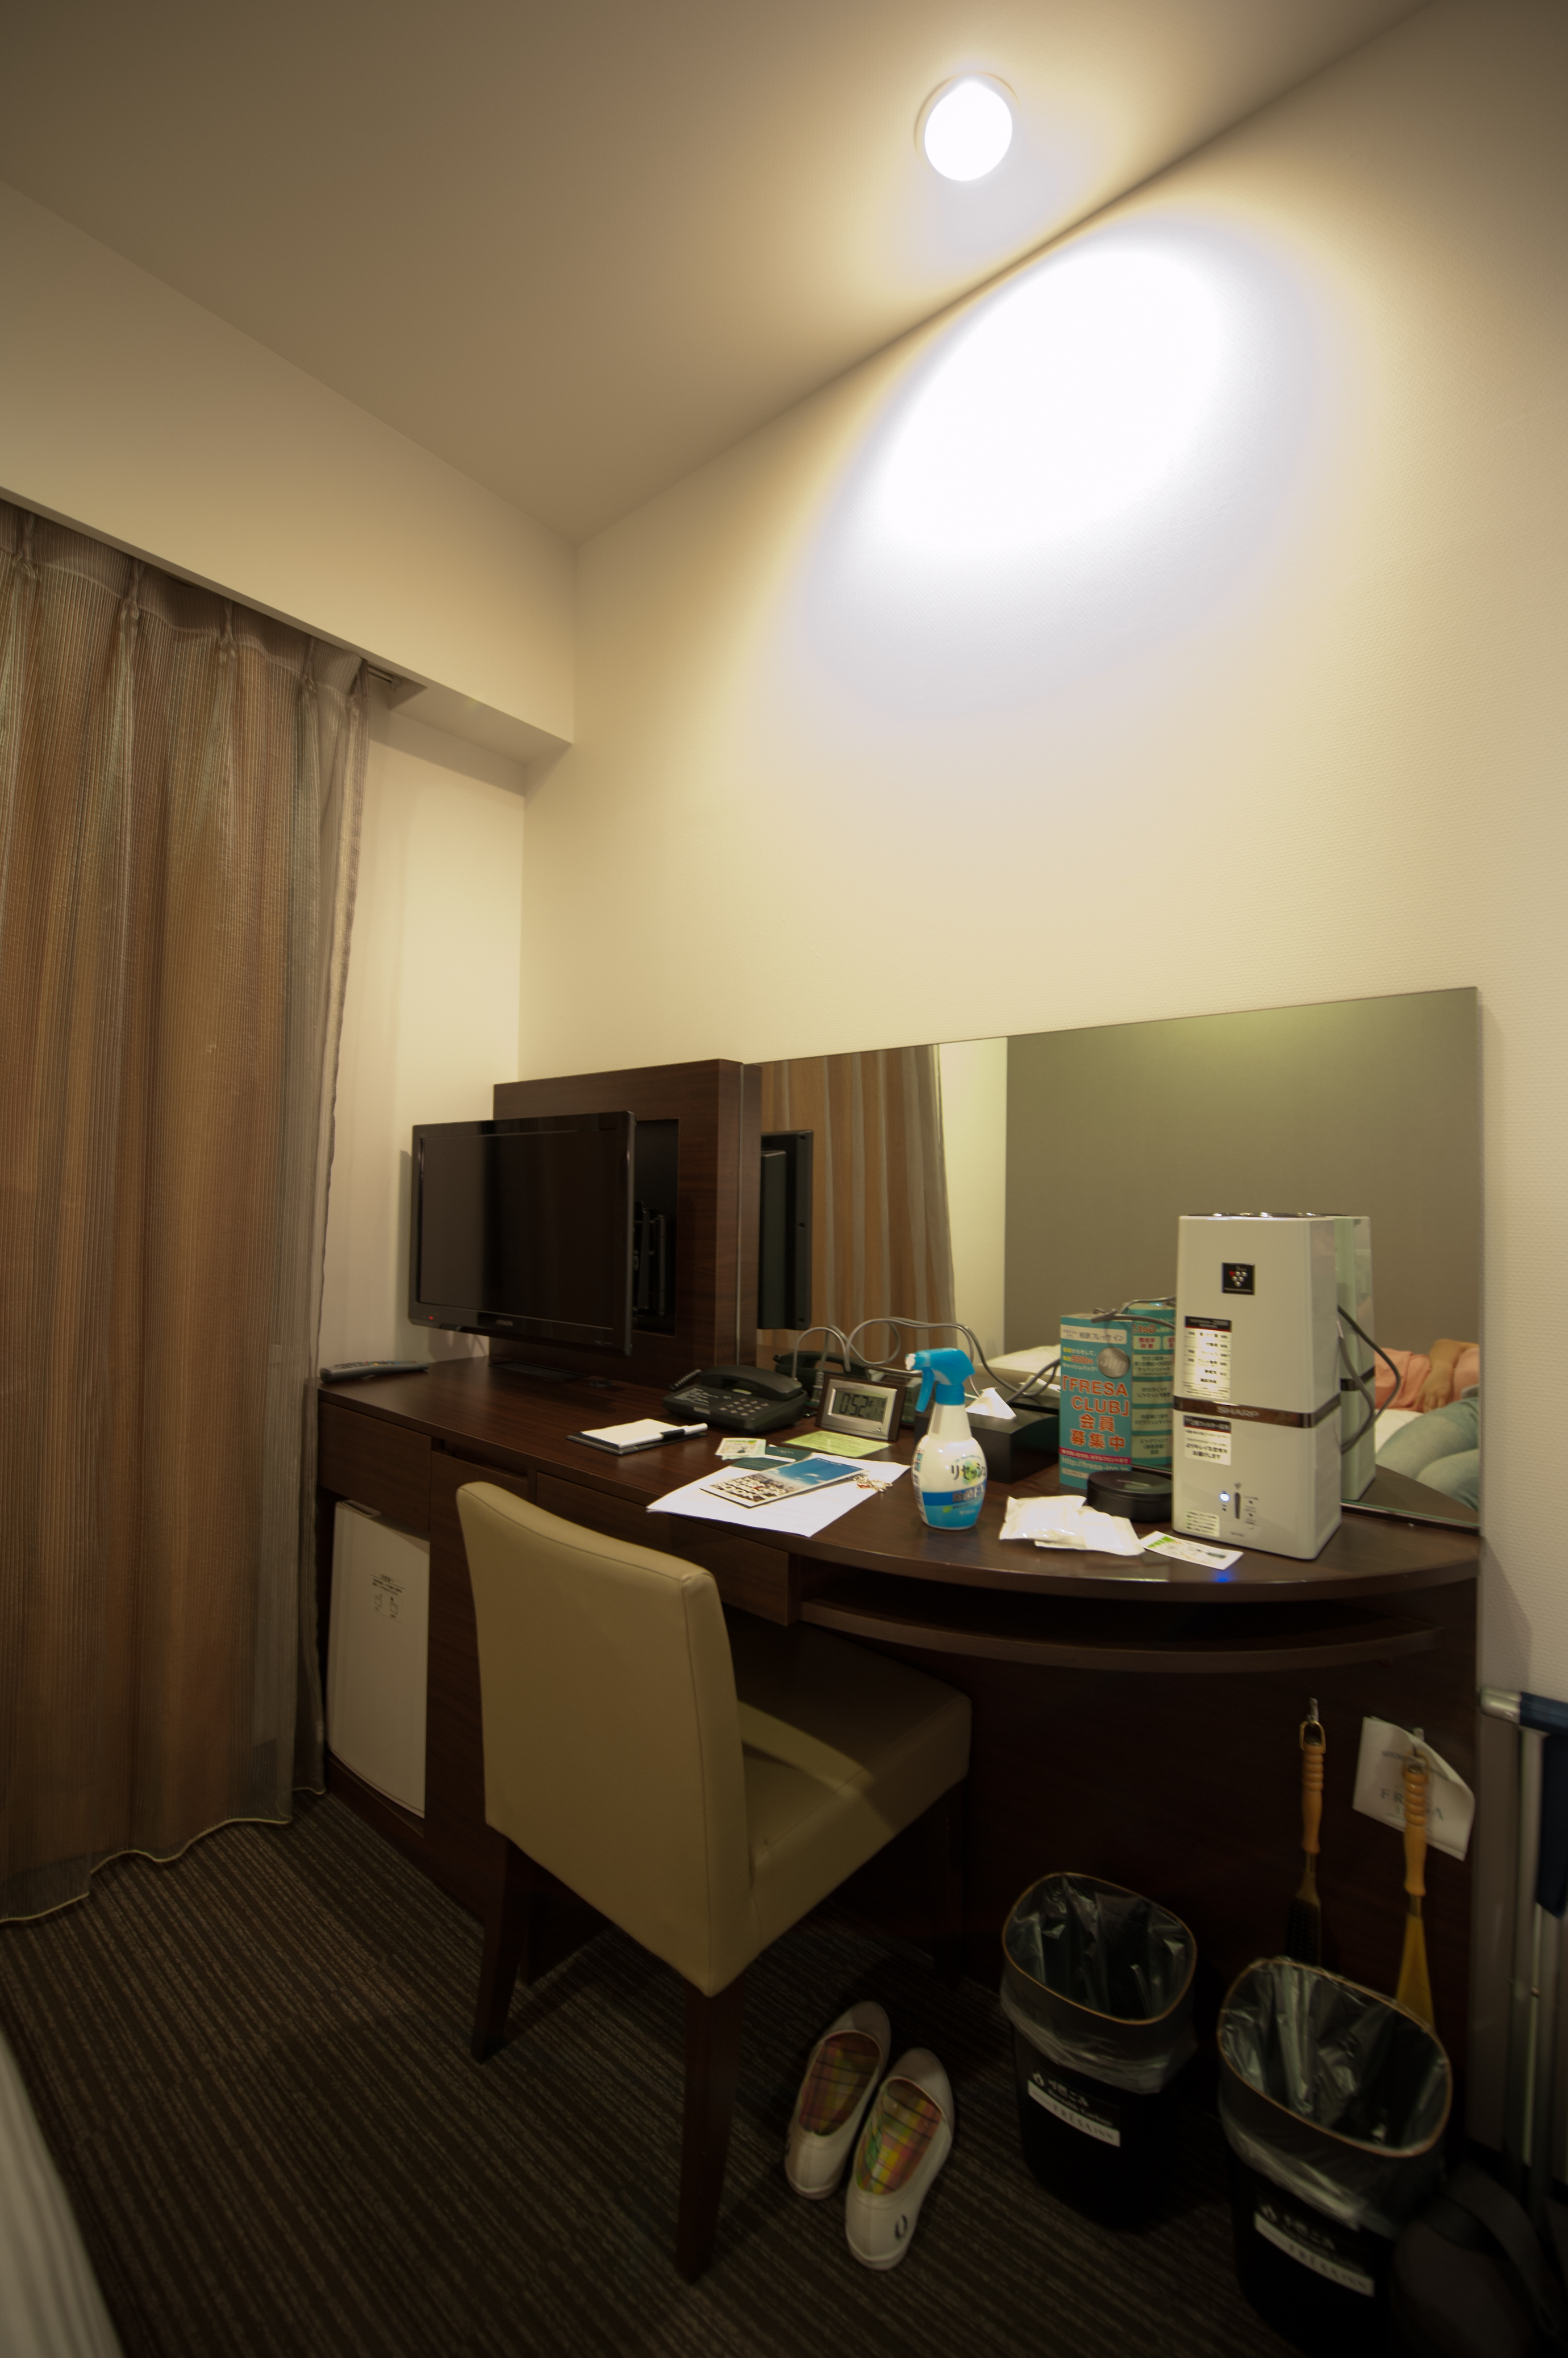
Day 1: Haneda Airport --> Sotetsu Fresa Inn Hamamatsucho Daimon
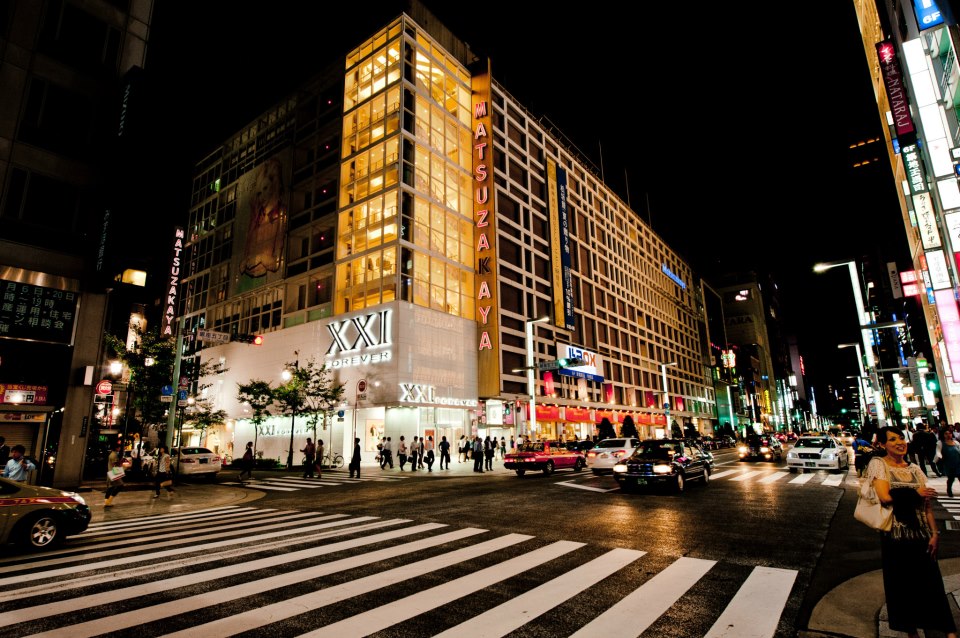
Day 2: Koganei Park江戶東京たてもの園」(江戶東京建築園) --> Kawagoe-shi, Saitama川越小江户 --> Shinjuku新宿-歌舞伎町
Day 3: 
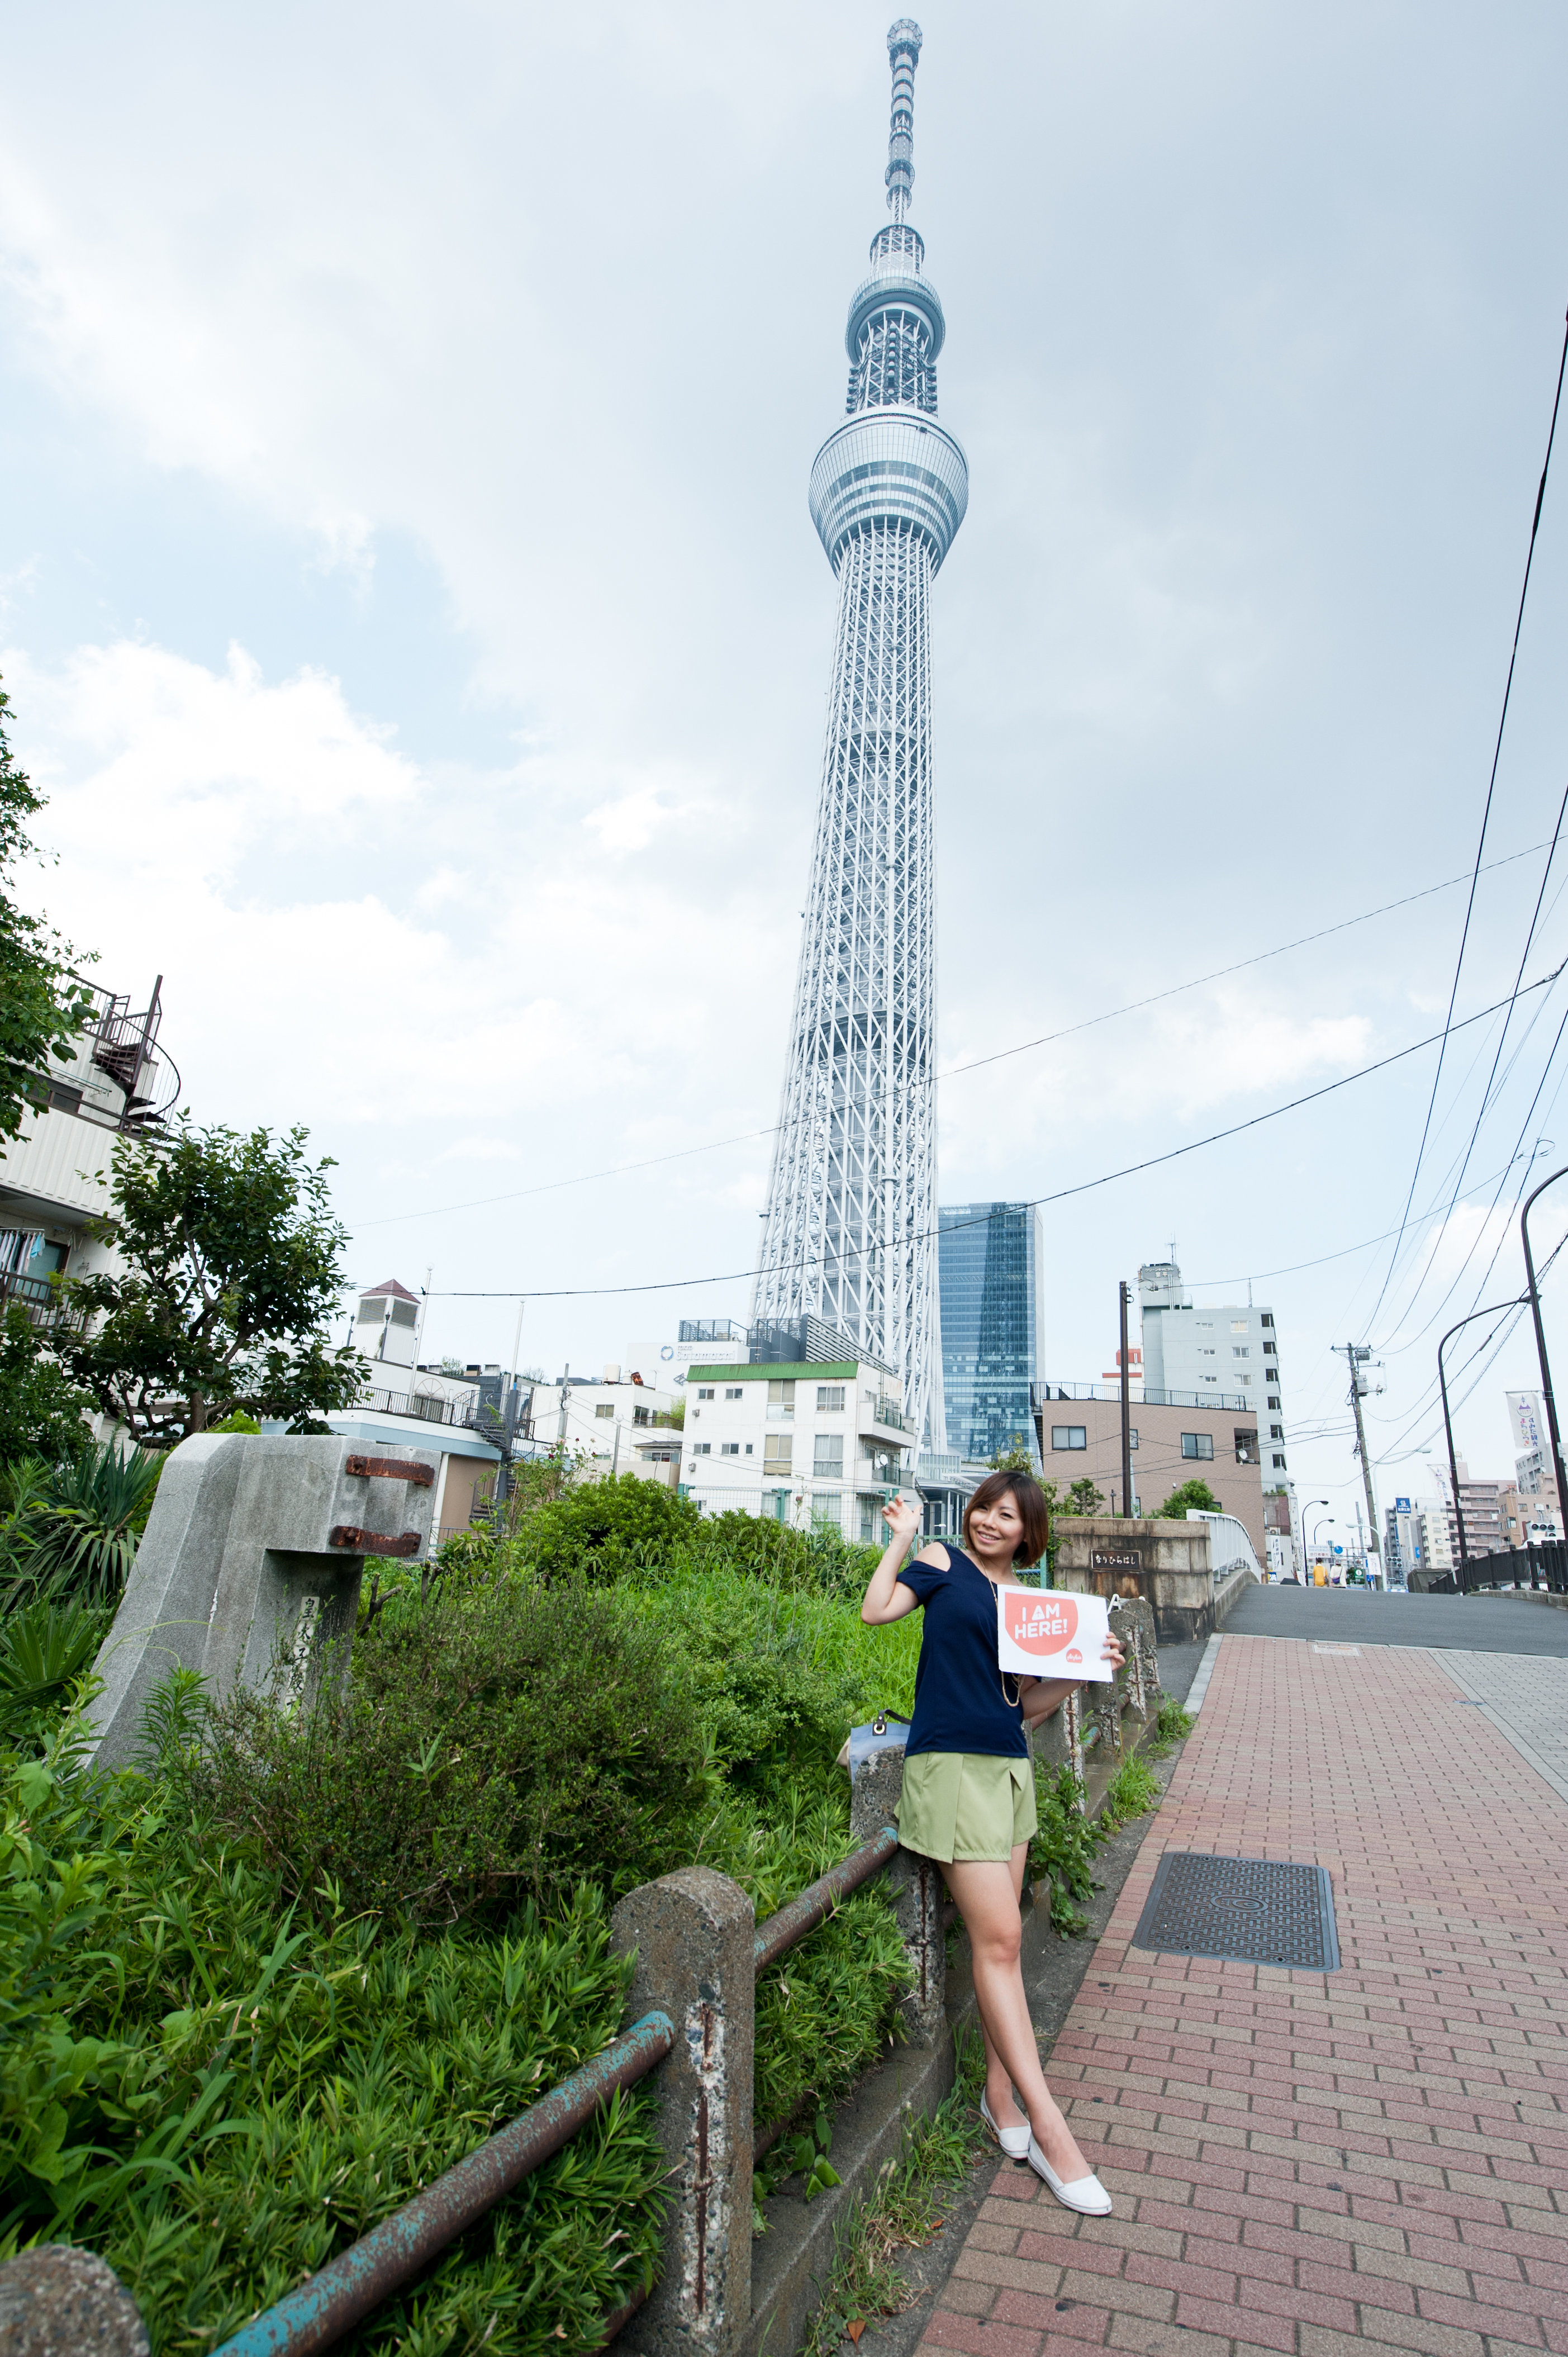
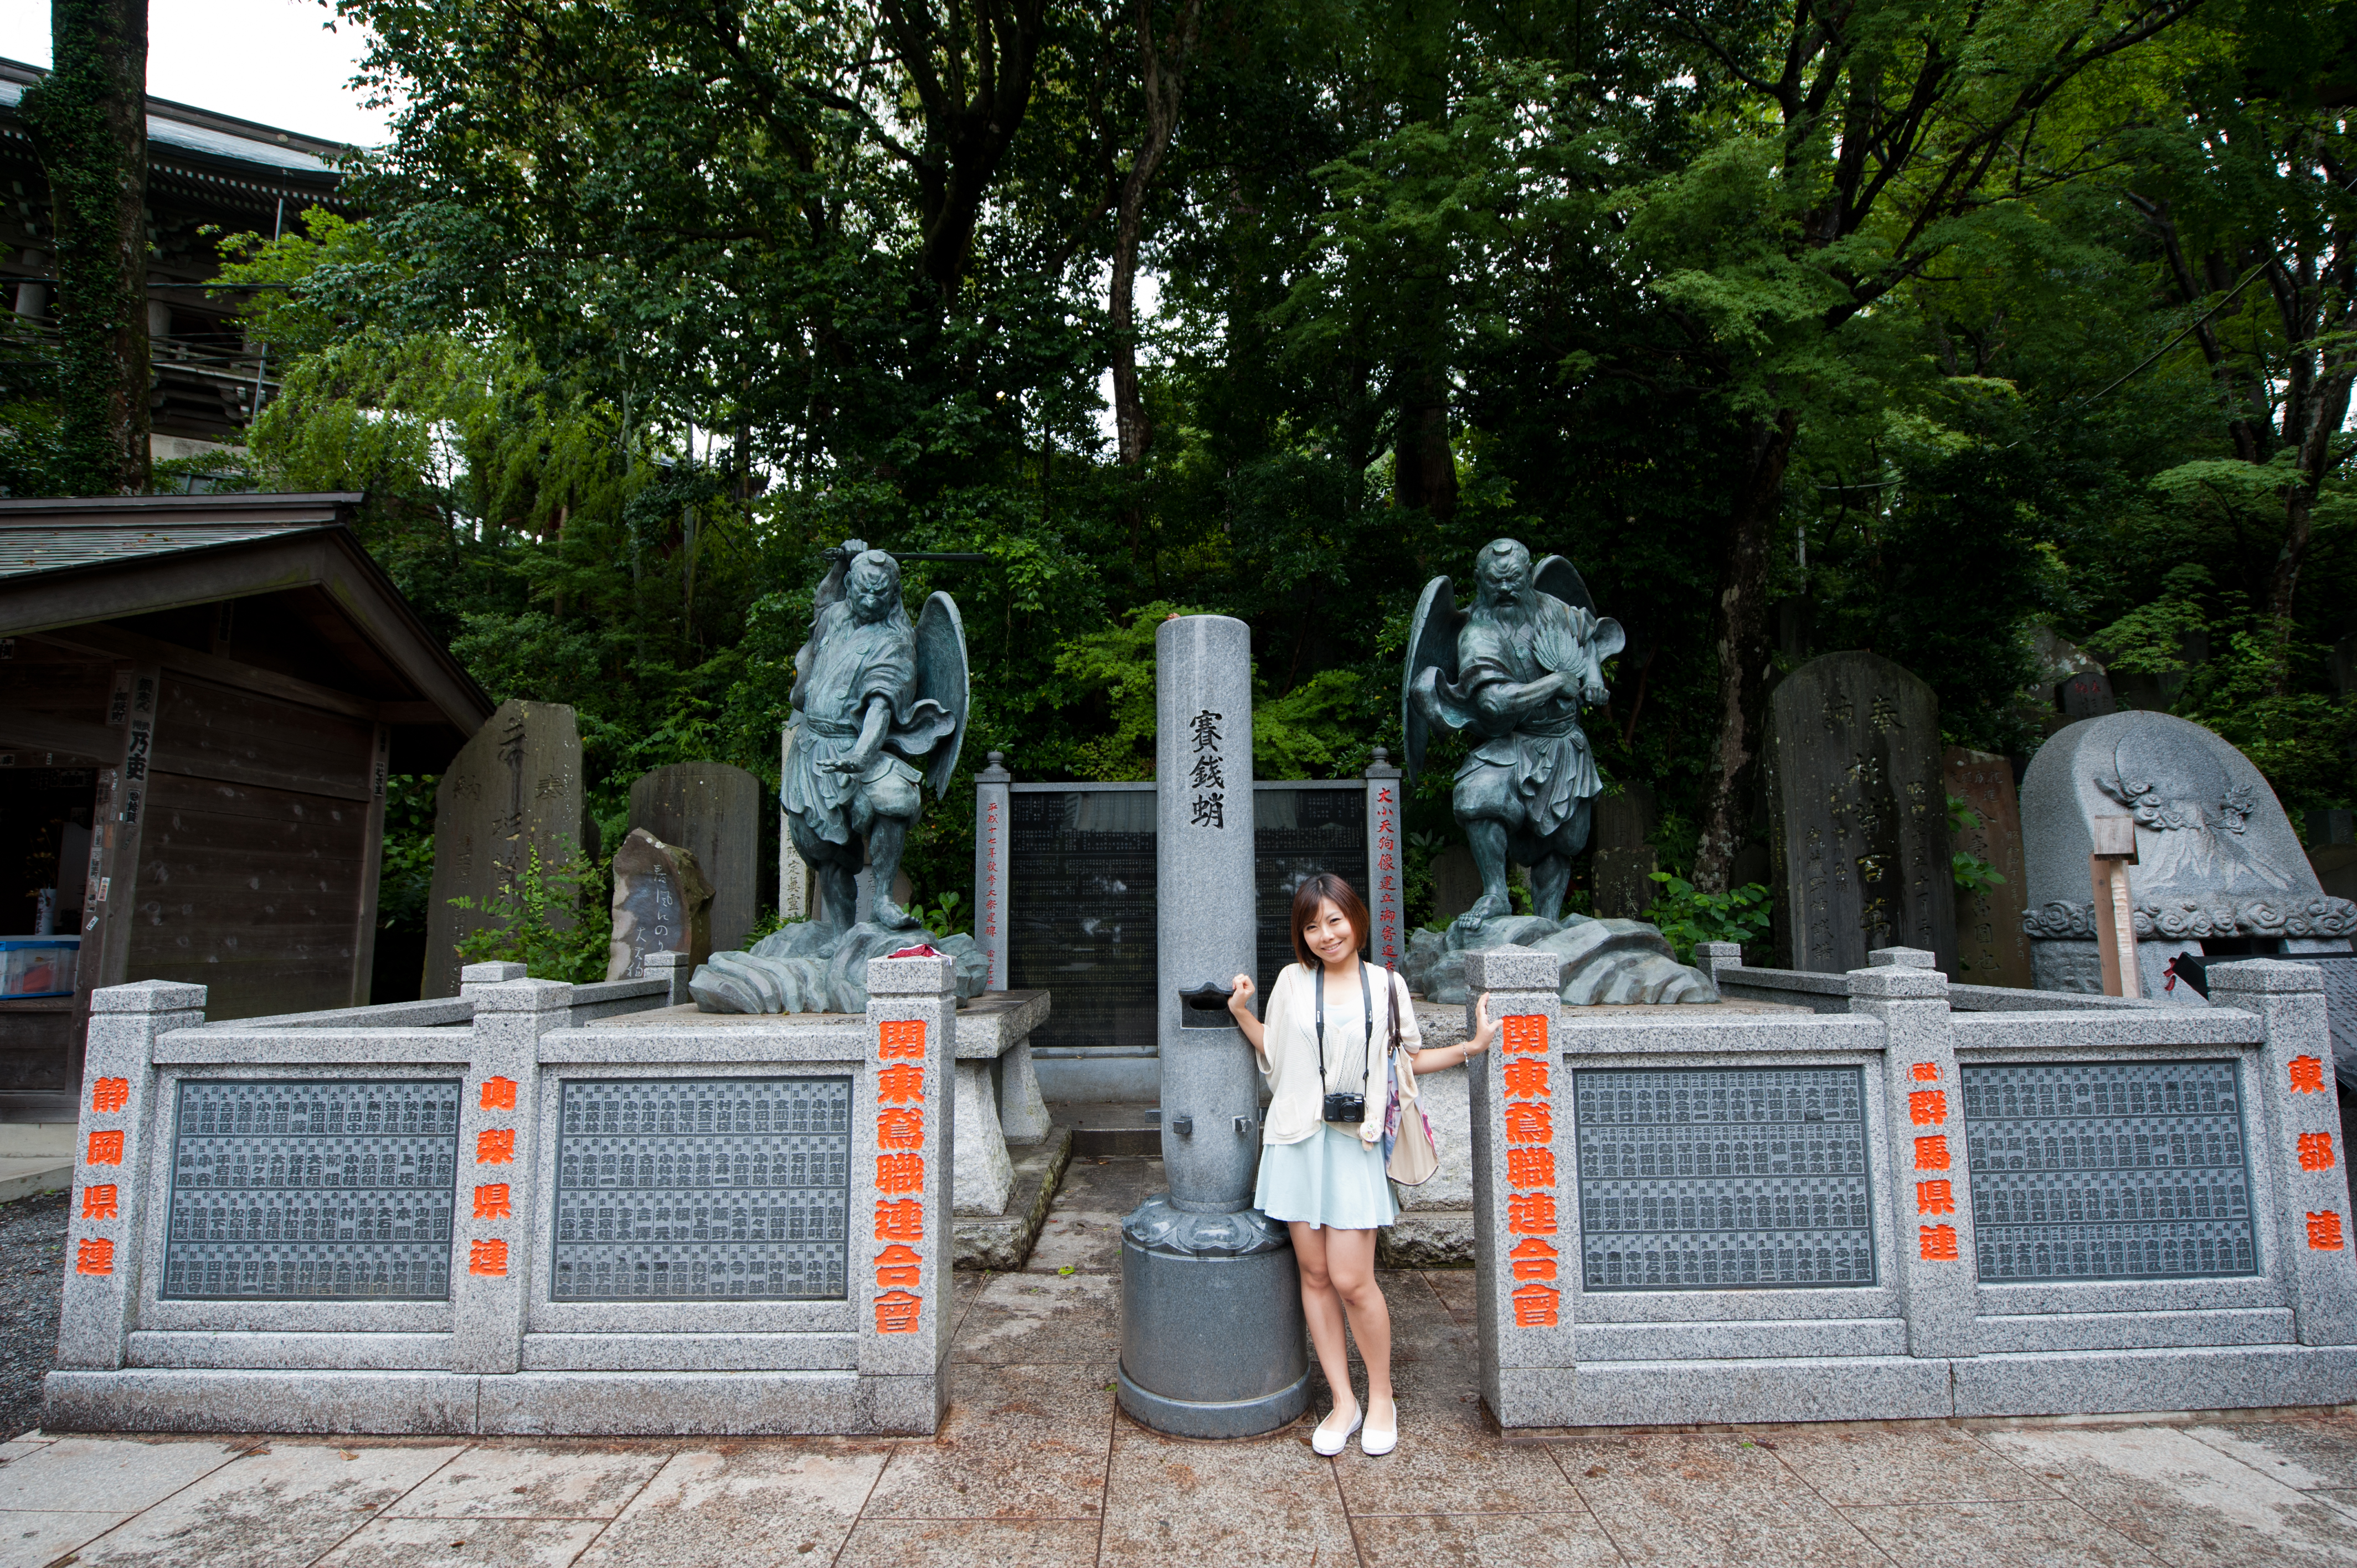
Tsukiji Fish Market筑地市场 --> Sensoji Temple浅草寺 --> Tokyo Sky Tree吾妻橋 --> Yokohama International Port Terminal 横滨 (原町,山下公园,中华街,横滨大栈桥) --> Tsukishima月島 – つきしま  (dinner 文字烧(MONNJYA YAK)
Day 4: The imperial Palace皇居外苑 --> Nippori  日暮里 (谷中银座,谷中猫町)--> Nedujinja根津神社 à Ginza
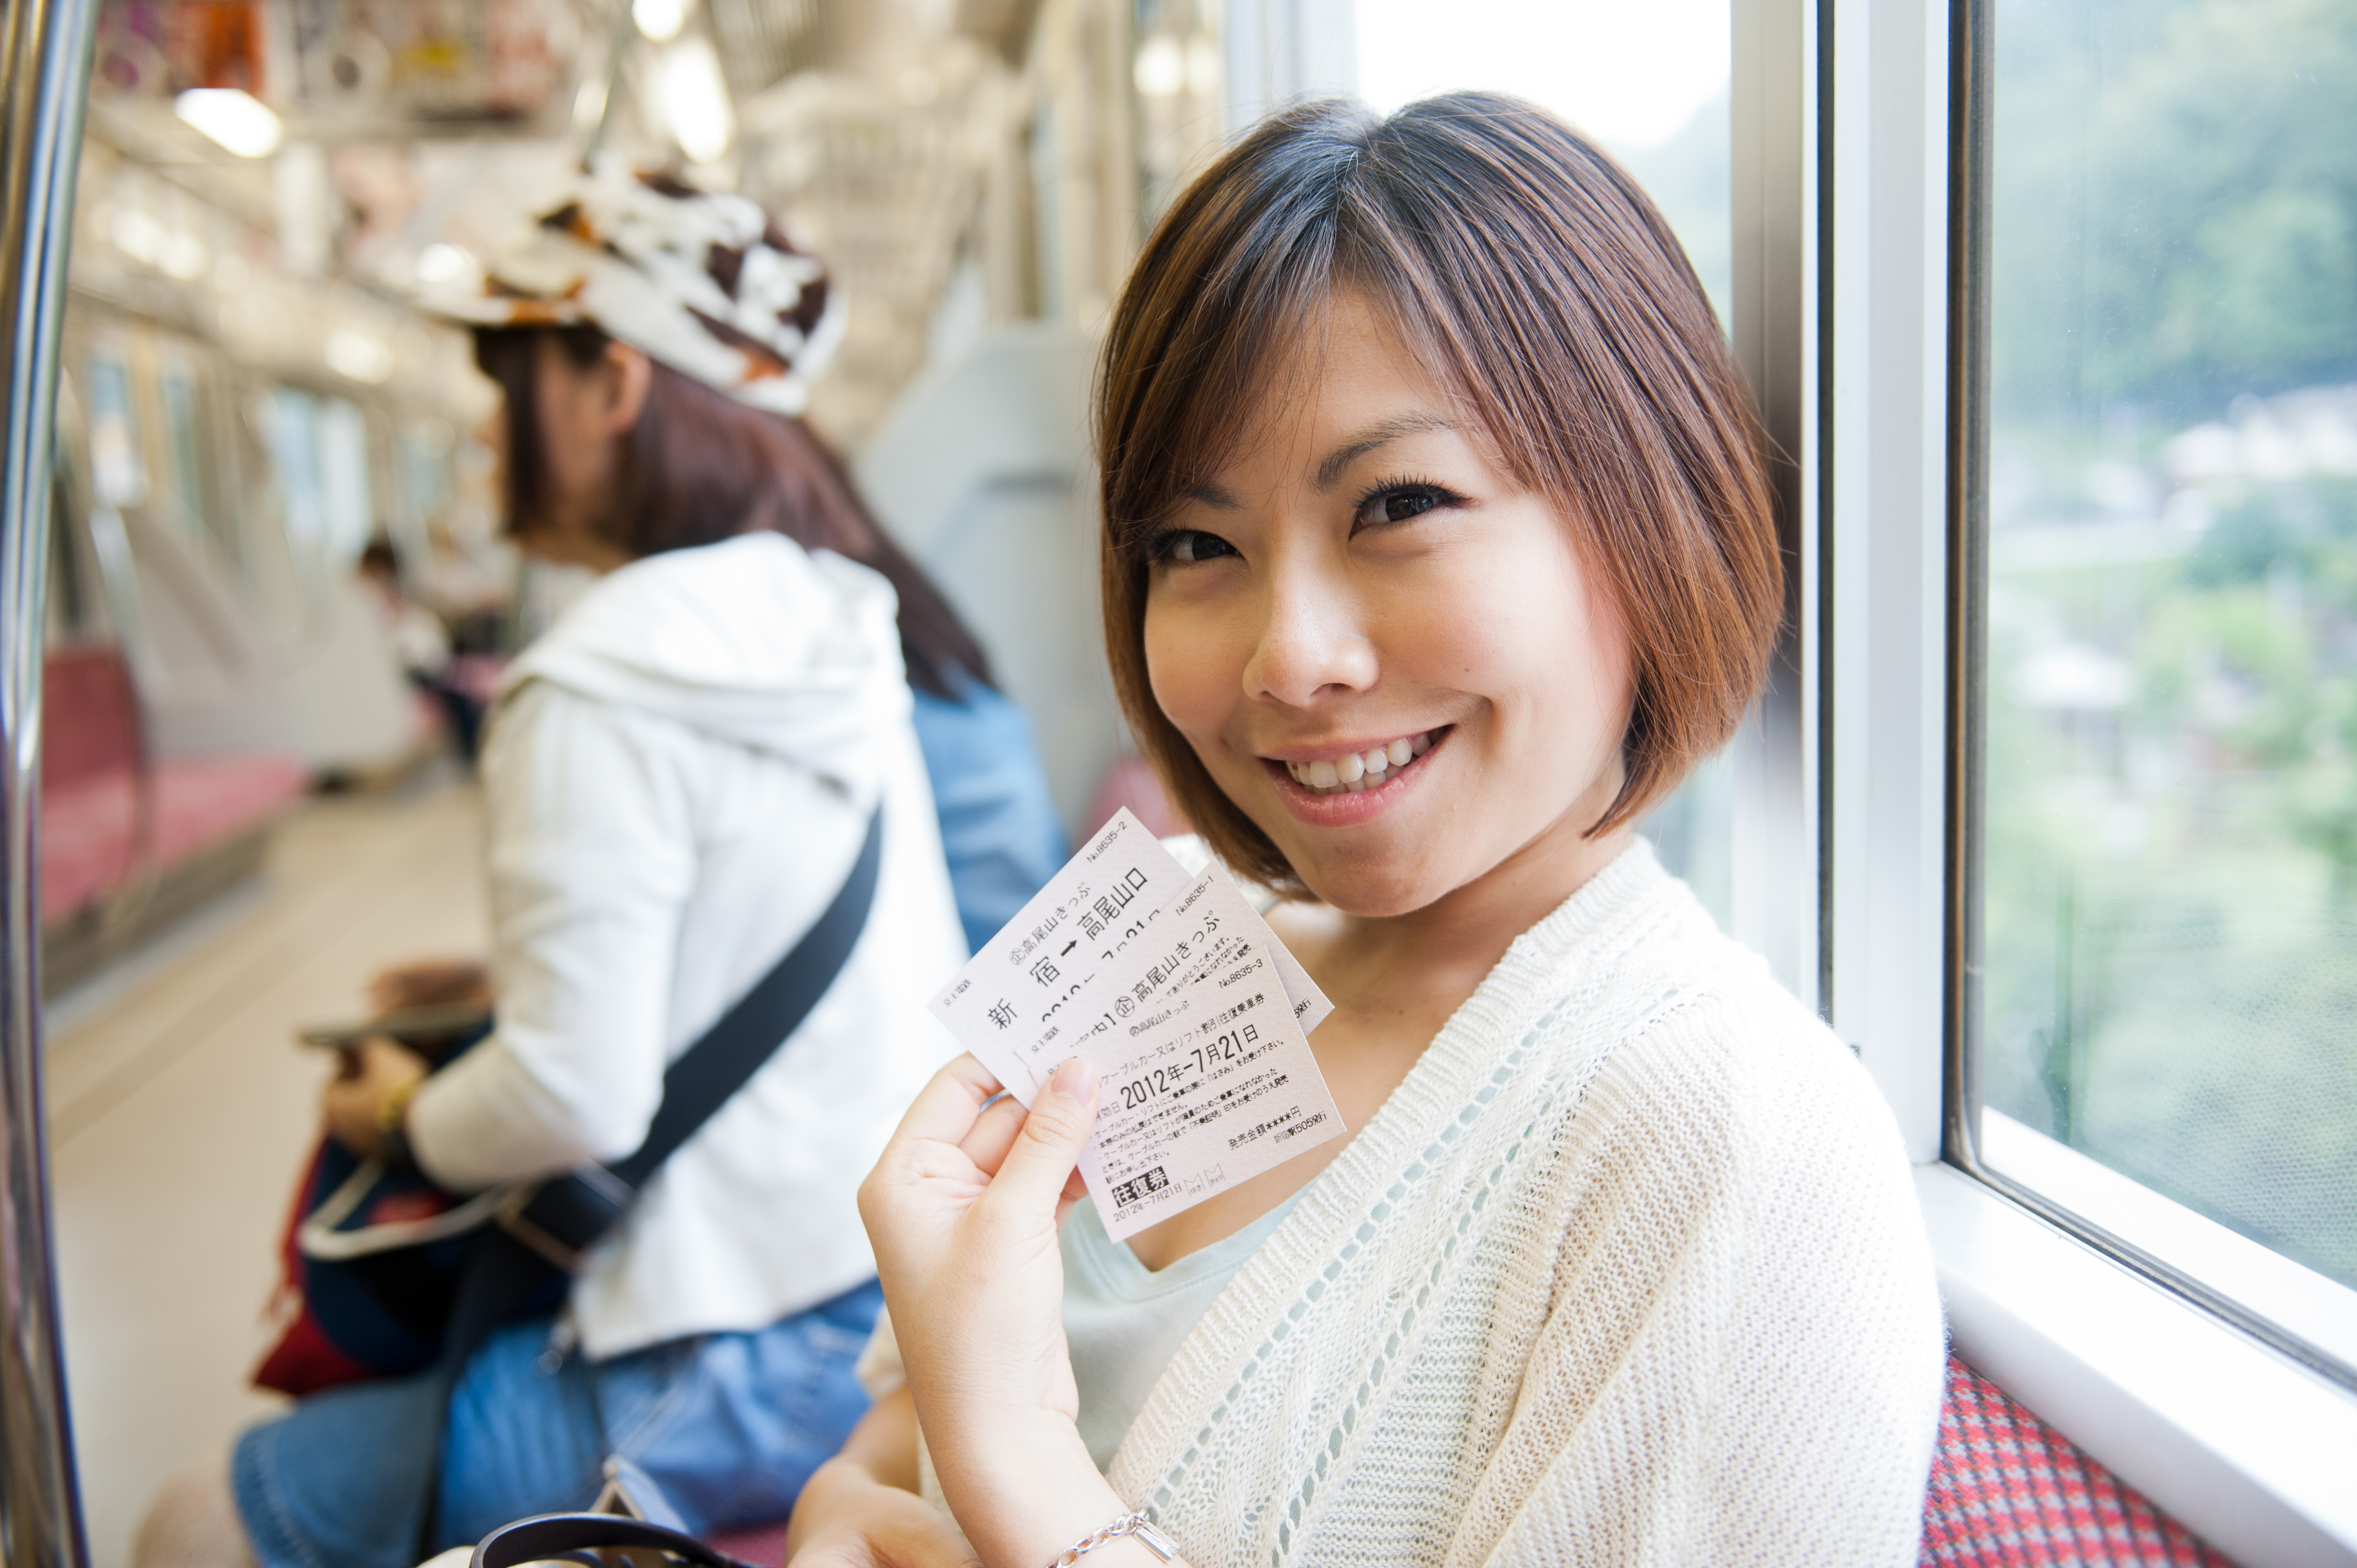
Day 5: Taokao San 高尾山頂 --> Kichijōji吉祥寺 --> Tokyo Tower
Day 6: Tokyo tower --> Akihabara秋叶原 --> Shibuya涉谷 --> Daimon à Haneda Airport


_DSC4929
Forget about the taxi I took on the first day, I took tourist bus and tube all the time. There are a list of subway that operated by a dozen different company which cost slightly different to travel to the same destination. Looking at the spider net of Tokyo subway map, I felt dizzy and immediately shut the window tab off. It was kind of complicate to me, so I found an alternative way, it help me to find the best route to my destination yet its result even shown the travel time, cost and which tube & station to transit.  I used it to plan my itinerary, without spending me too much of time and good understanding on all the subway map/company.

Plan your itinerary with subway planner at - Tokyo subway planner


_DSC4317

Yamanote Line and Toei Odesen are 2 lines that I used most in my trip. You cant avoid from Yamanote line as it covered most of the attraction yet it is the cheapest line I would say. Toei Odesen line is near to my accommodation and it could bring me to fish market and Roppongi. To travel on subway, we bought Suica (or you could choose Pasmo card, is just the same) and reload around 1000 yen almost everyday.

_DSC5302

Not to forget I am on budget trip, I wouldn't let go any chances of cutting down the cost on EVERYTHING. There is something named travel pass in the world, and its is design for budget traveler. I love everything with a name of cheap/budget, so I love passes. Some of the passes will help you save a fortune, and allow me to spend more on food!! But some of them might not save even a penny for you, yet cost you a lot more, it highly depends on your itinerary. So make sure you have a list of must go destination on hand before you bury your head in the passes/ticket fare list.

There are 2 passes that I was really interested in, and considered to use in my trip (apologize that I did not do a very detail survey on all passes, I have filtered the passes that is easy to use and convenience to be used in my journey. Yet, I have listed out the passes available in Tokyo at the end of this article for your references.)

1. Airport to city + one day subway pass
Keikyu Haneda/Subway pass (adult: 1300 yen, child: 650yen) - More information on Tokyo Metro Pass
Available only in Tourism counter in Airport and it closed around 1030pm.

2. Tokyo Metro Open Ticket (1-day: 710 yen; 2-day: 980 yen)
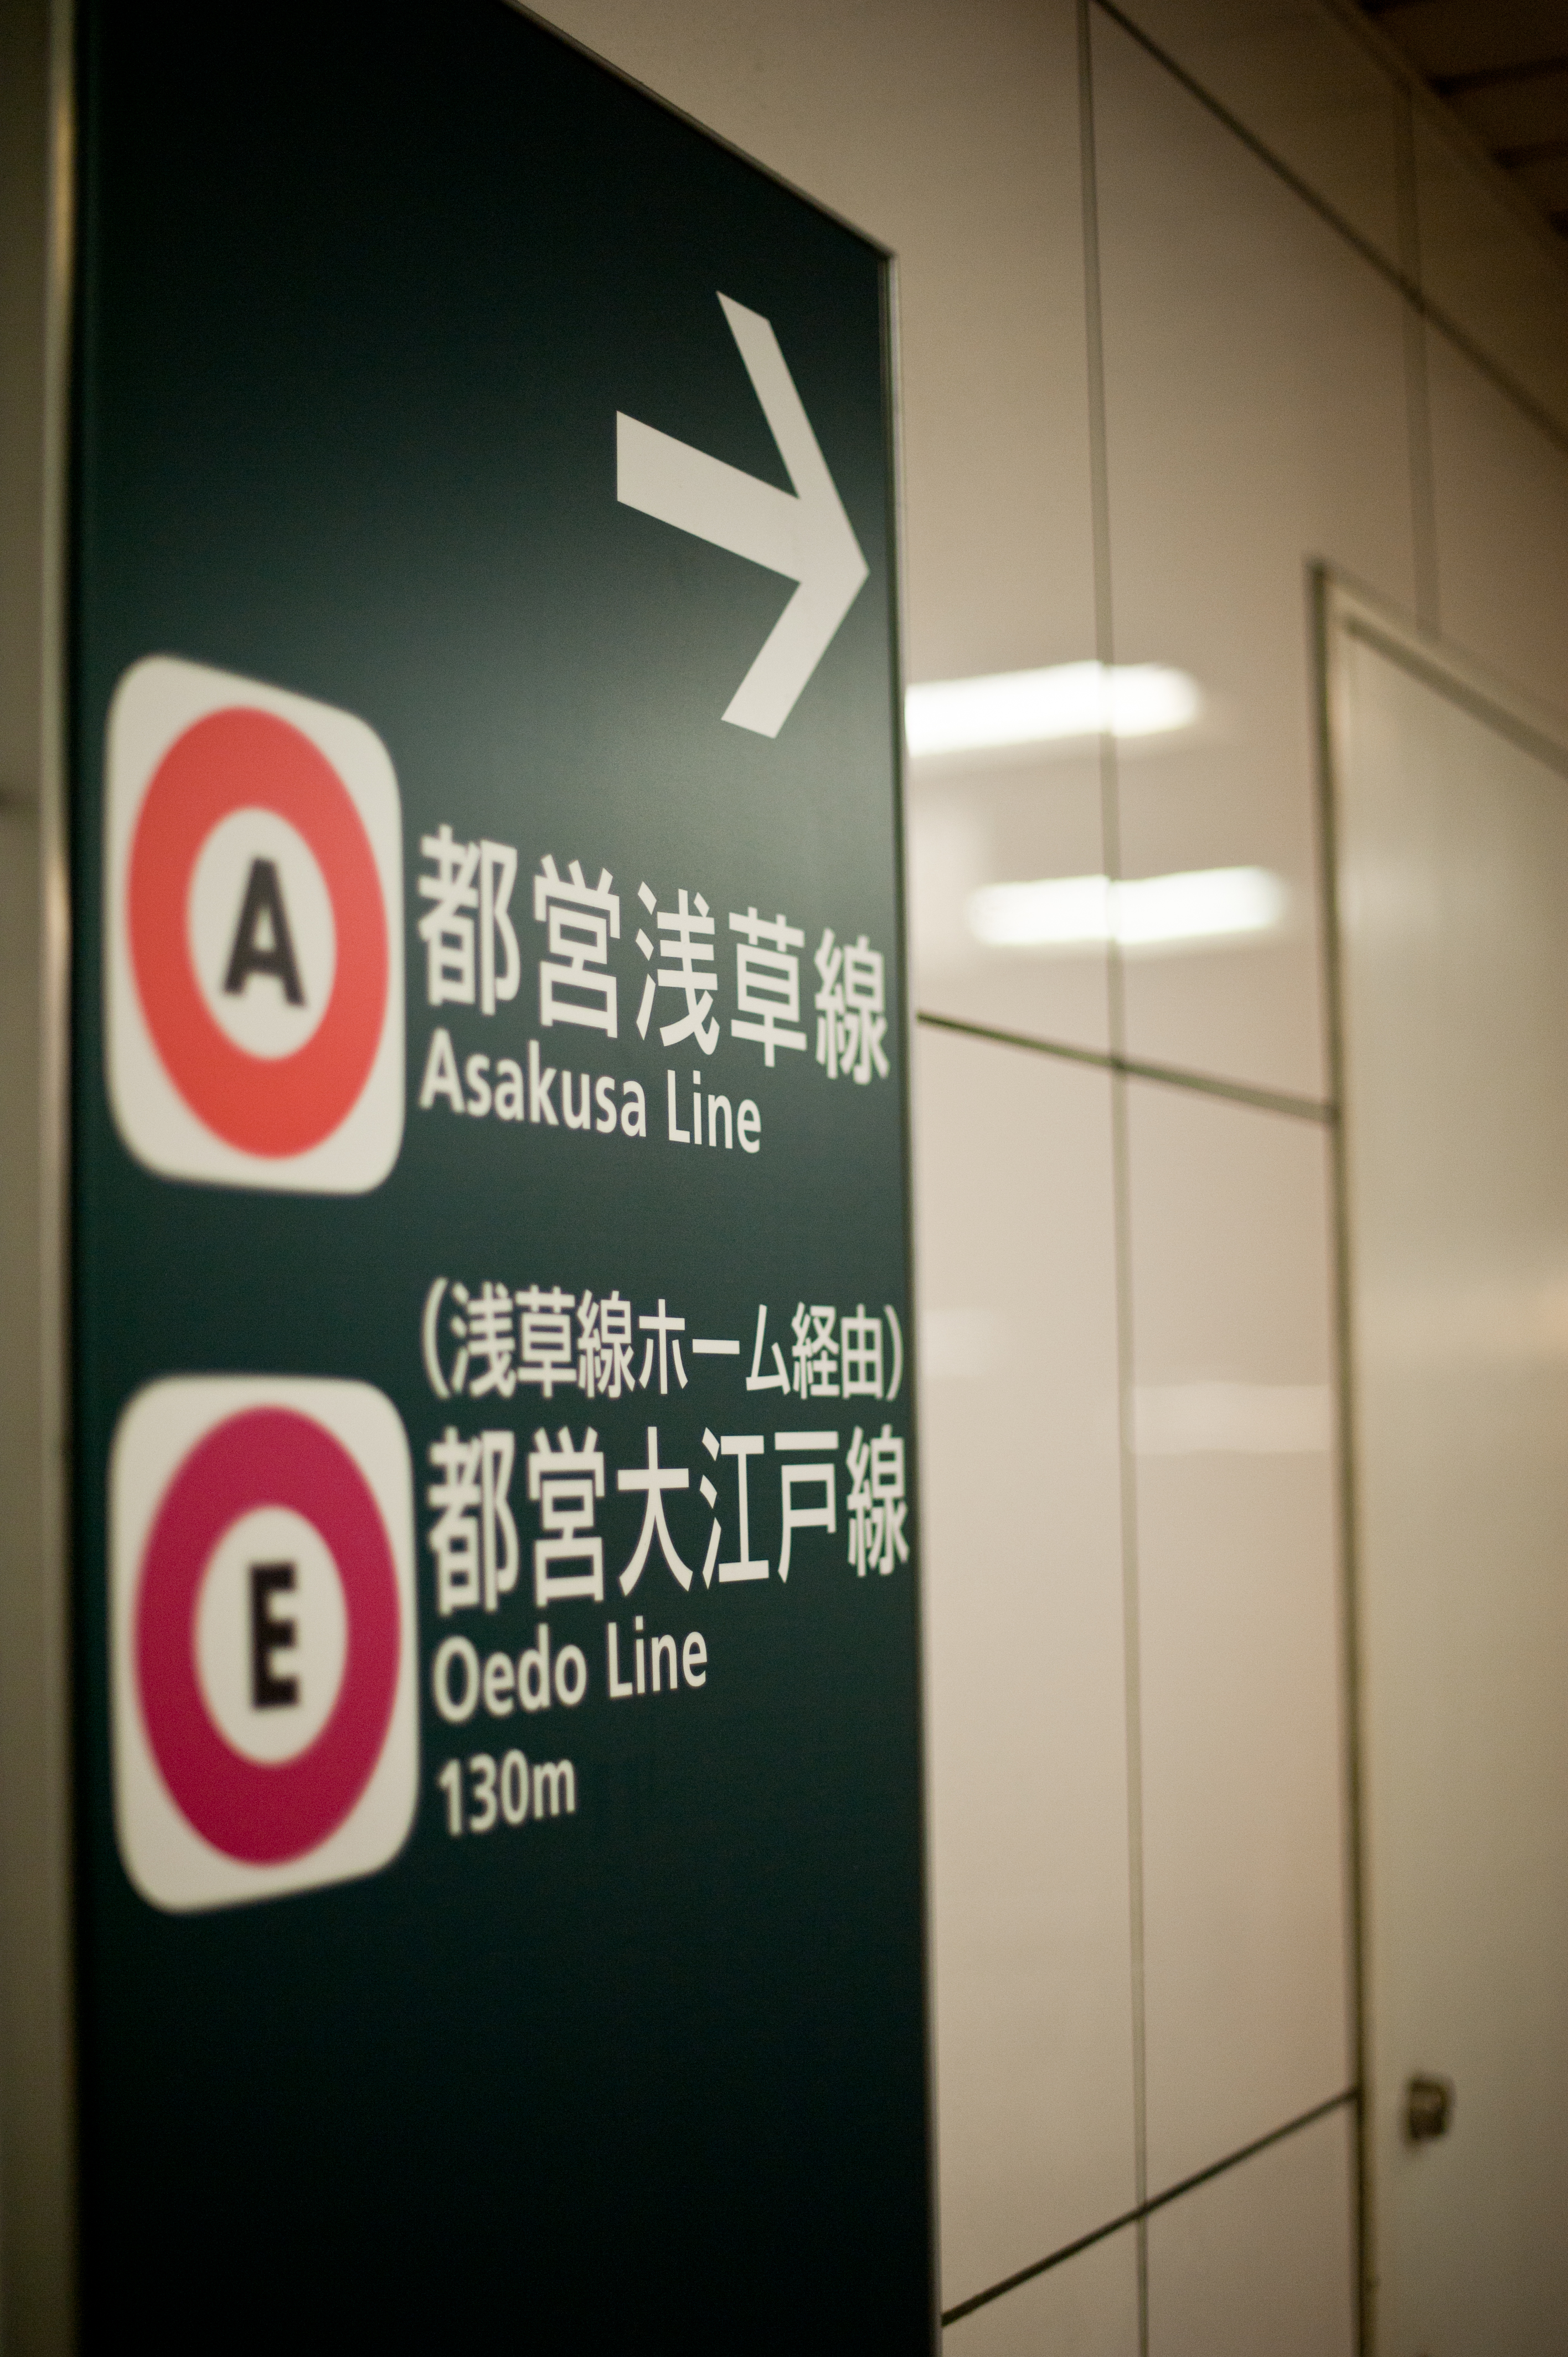
Toei Oedo-sen (都営大江戸線)
I failed to used Keikyu Haneda/Subway pass, due to my late arrival in the airport where the tourism counter has been closed. If you wanna save cost please do not arrived in the airport after 8pm, as the custom took me 1-2hours for queuing up. (Further reading on my 2012 Japan - Spend RM2800 & travel 5 days around Tokyo – Inventory, Flight ticket & travelling seasons)

_DSC3832

To prevent myself from unable to find out the desired subway, I printed the itinerary out with the station and subway that would direct me to the destination. Its helped a lot during the trip, I show my itinerary to the railway staff pointing on the destination or subway, not even needing me or him to speak a word, he found the platform for me.

List of passes in Tokyo, Japan
Tokyo Free Kippu (1580 yen)
Unlimited use of all subway lines (Toei and Tokyo Metro) and JR trains in the central Tokyo area on one calendar day. It is also valid on buses and streetcars operated by Toei. The pass is overpriced and will unlikely provide any savings over regular tickets or prepaid cards.
Toei and Tokyo Metro One-Day Economy Pass (1000 yen)
Unlimited use of all subway lines (Toei and Tokyo Metro) on one calendar day. The pass only pays off if you use the subways excessively. The pass is not valid on JR trains.
Tokyo Metro Open Ticket (1-day: 600 or 710 yen; 2-day: 980 yen)
Unlimited use of the nine Tokyo Metro subway lines, but not the four Toei subway lines and JR trains. A regular one day pass costs 710 yen, while a tourist version is available for 600 yen (one day) and 980 yen (two consecutive days). The tourist version is only available to foreign tourists at Narita Airport and Haneda Airport.
Toei One-Day Economy Pass (700 yen)
Unlimited use of the four Toei subway lines, buses and streetcars on one calendar day. It is not valid on the nine Tokyo Metro subway lines and JR trains.
Tokunai Pass (730 yen)
Unlimited use of JR trains in the central Tokyo area on one calendar day.

Monday 27 May 2013

2012 Tokyo – Accommodation

_DSC4304

In my so-called budget trip, we seldom stay in homestay or dorm. Although we had a really great homestay experience in Switzerland and Czek Republic, but me and my partner JK still prefer to stay in hotel due to safety issue of our personal belongings. Sometimes it cost almost the same yet we get more privacy and security, somehow reduce the time on researching the area and thing.

_DSC3821

I take accommodation as one of the most important part during my planning of my trip. The comfort level and cleanliness would really affect your mood and overall trip experience, as it is the place to get yourself rest and refresh. I filter out a list of hotel from www.booking.com (I find hotel from this website for years, and it provide good service and quick response on your needs), which was Sotetsu Fresa Inn & Toyoko Inn.

Toyoko Inn is one of the famous chain budget hotel in Japan, you can find it in most of the travel hot spot yet very near to tube station. And it serves different simple breakfast (rice+miso or coffee+bread) at different branch. However, Sotetsu Fresa Inn stand out due to its lower price, although the price would be the same if I adding breakfast to the package. Considering the price I paid for breakfast would allow me to buy even more discount food the day before at 7pm from hypermarket, Toyoko Inn do not add extra value by supplying breakfast. So I decided to stay in this medium cost, shampoo & towel provided, proper budget Inn.

_DSC4317

Sotetsu Fresa Inn Hamamatsucho Daimon located just a 3-5mins walk to Daimon station (B5 exit) and 5-10mins walk to Hamamatsucho station. These 2 station have different line of tube which you could fully use this 2 lines to plan your schedule. World Trade Center is located just besides of Hamamatsucho station, and you could pay a visit before 8pm (close at 830pm) to take a best view of Tokyo Tower.

_DSC4311
There's a lot of restaurant down the street.

Sotetsu Fresa Inn Hamamatsucho Daimon is considered to be very near to Tokyo tower and Hanneda Airport. I did not know it was the wise decision I made in this trip when I book the hotel. Due to the late flight we took, we failed to take the last train to my Hotel and end up sitting in a taxi which cost us around JPY 9000 (around RM400, the most expensive taxi I had taken in my life) to reach the hotel, try to imagine if my hotel is a bit further, that could really kill our mood on the arrival. So do not take the late flight as it doesn’t save your money, the lesson I learnt by paying RM400.

_DSC4284

It took some time to find the hotel, even a taxi driver with a GPS. If you exit from Daimon station B5 exit, turn right, go straight it is located at the end of the street. The staffs speak English and like most other hotel/Inn the provided a long list of freebies on a small table next to the lift, which are:

1.      Free SPA powder
2.      Cleanser
3.      Moisturizer
4.      Toner
5.      tea/coffee

You could take as much as you like; yet they will provide you the exact number (the day you stayed) of shower pack for you. Inside the shower pack you can find cleanser, moisturizer, toner and hair pin.


_DSC3825

The room was small but clean and everything has been provided, including kettle; anti-bac shoes spray; air-ionizer and fridge.

_DSC3824
There's also a multiple port charger that fit almost all your device.

I was very happy with the location, it is quite convenient and everything in the hotel is just nice. I would recommend anyone if your itinerary is almost the same as mine.

_DSC4302

Tips
There’s a few thing I will take into consideration when picking my accommodation.
  1. Ease of taking transportation (near to tube/train)
  2. Safety of the surrounding area (if any criminal case related to tourist happened in that area?)
  3. Center point to my trip destination, or at least the train station could get to my destination easily without too much interchange.
  4. Review of the Hotel/Homestay/Dorm (I don’t fully take it into consideration, as everyone have different requirement and demand over the accommodation, I will look into distance to train station, whether the hotel is easy to find and cleanliness, breakfast quality, a hotel with a 60-70% of satisfaction is good enough).
  5. Wifi, Breakfast & shuttle to airport (it will be good if it is provided).
  6. Near to airport if necessary, eg. Early morning/midnight flight.
Note:
I don’t change too much hotel in my trip, as you need to check out and travel with your luggage which is very inconvenient & time-consuming (unless you are backpacker), and of cause stay in the same hotel over 7 days usually get cheaper price. I will change hotel only if I need to spend a few days in another distanced place yet the transport fee is expensive.

Saturday 25 May 2013

2012 Tokyo - Spend RM2800 & travel 5 days around Tokyo – Inventory, Flight ticket & traveling seasons

319391_10151092888472350_1124914797_n


It was 1 years ago, I woke up in a morning, scanning through my emails and found Airasia flight promotion newsletter, there it link me to the Tokyo flight promotion. All-inclusive price of a Tokyo return ticket cost only RM690. I immediately called my best travelling partner JK with my trembling finger. Without second though he urged me to book the flight to Tokyo. Date? “You decide.”

 378289_10151072455087350_965827705_n

I had bad experience of travelling on bad season, where the weather was not so suitable for travelling yet attraction closed earlier. Since then I will search the weather before I book the ticket, if you really like some cultural activity, remember to find out when is the time of their special festival season of the place you travelling to.


 315310_10151092891797350_633759801_n

I had chosen to travel on middle of July, Summer. During Summer time, you may get the chance to join Bon Odori. Yet, it is sale period which it start around early June to middle of July, but there was still sale on going until the day I got home (22 July). It was summer day, sometime hot, sometime not too hot but rainy day. After all I still take it as a good time to travel in Tokyo.


 208410_10151092892492350_1354176328_n

But I had missed something out, which is the arrival time. We arrived in Tokyo Hanneda Airport around 1030pm, and it took us around 1 hours at custom, as we completed all the procedure, it was 12am already, where most of the low cost public transport has stopped. Besides, we missed out the chances of buying Keikyu Haneda/Subway pass, which only available in airport and the counter was closed at 1030pm.


Money matter??

A lot of friends told us that they have spent around 10k/person for travelling a week in Tokyo (exclusive flight & accommodation).  Wow, 10k, that’s almost the amount I paid to travel around Europe, that’s really a freaking number. During the trip we did not purposely save from food or any thing but it took us less than RM2800 (flight, accommodation, transportation & food) per person to travel 5 days in Tokyo.

Calculated as in per person
Flight ticket **RM 690
5nights accommodationRM 800
TransportationRM 500
FoodRM 500
Others (Administration fee & etc)RM 300
TOTALRM 2790
**Airasia have this kind of promotion throughout the year, but the longest travelling period promotion fall at the end of the years (around September, if I not mistaken, just pay more attention at the end of the year).

Please feel free to email me (olioolive@yahoo.com.tw) for more information or any query on self-travelling to Tokyo, Japan.